Hi friends!
Today I thought it would be fun to share how easy it is to make your own portable quilt board.
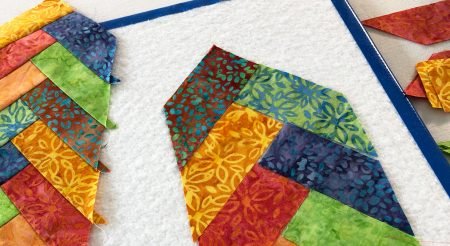
If you joined us for the Retreat From Home quilt retreat last weekend, or watched any of my Facebook Live demos, you’ve seen how I use a small design board to hold and show off fabric pieces and blocks.
But they are not just for show. I find these design boards super helpful when I am laying out a block, or a braid, and then I can take the board over to my sewing machine and sew the pieces together. Since all the pieces are laid out where they need to be, and “stuck in place” to the board’s batting surface, the hope is that I will put the block together correctly!

Making Your Portable Quilt Board
To get started you need a piece of foam core board. These are available online or at craft stores. I like to cut them into squares that fit the area near my machine. I had a 30” x 40” board and cut it into 4 squares 15” x 15”. Though I guess I could also have cut it into 4 rectangles 15” x 20”, but one end of my board was a bit messed up.
Then I cut 4 pieces of batting from leftover bits from quilts. Each batting piece was about 17” x 17”. You just need enough to turn over to the back.
Using a glue stick, I glued the batting to the front of the board- just around the edges so it didn’t move around. I didn’t use a lot of glue.

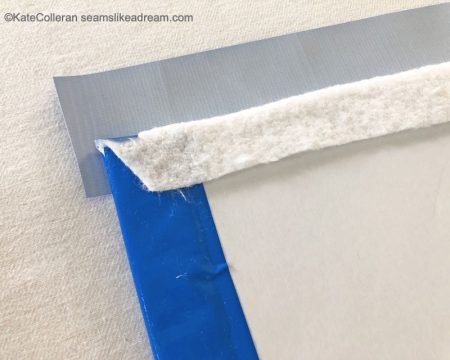
Then I turned the quilt board over, folded the batting onto the back and glued two sides of the batting. You don’t want the batting to go too far over the back as the duck tape has to cover it.
Then I cut a piece of bright blue duck tape about 15” (and no, I didn’t measure, I just eyeballed the size!). I laid the tape down with the edge of the board over the edge of the tape and pulled the taped over the batting on the back of the board.

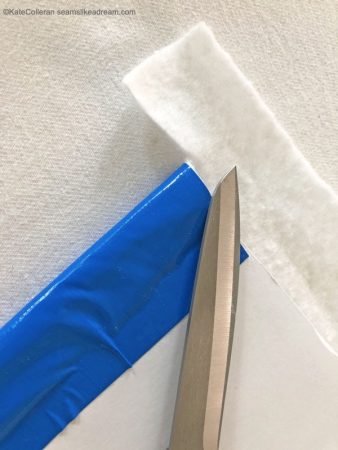
Sometimes the tape was nice and smooth- other times it got folded up and wrinkled a bit. But it’s the back- who cares! After I taped down the first 2 sides, I trimmed the bulk of the batting from the corner and repeated the process on the second 2 sides.

Sometimes it is easier to make the tape a little longer than the last 2 sides and just trim once it is secured down.

Done.

Takes about 10 minutes.

Gotta go – I have some blocks all laid out ready to sew!
happy quilting,
Kate
I FOUND YOUR IDEA IN MY PINTEREST EMAILS. YOU HAVE THE BEST IDEA I HAVE SEEN SO FAR. MAKES ALOT OF SENSE, IF IT GETS MESSY YOU CAN UNDO IT AND RE TAPE NEW BATTING ON IT.