Hi friends!
Today in the Exploring Quilting Basics series, Tammy and I are sharing tips on the double pinwheel quilt block!
Last time, we chatted about the pinwheel quilt blocks. So today, we are just going to add more pinwheels to the block!
Double Pinwheel Quilt Block
Let’s look at the block. This block also has other names- Turnstile, Windmill…. This is just one block that might be called a double pinwheel quilt block.
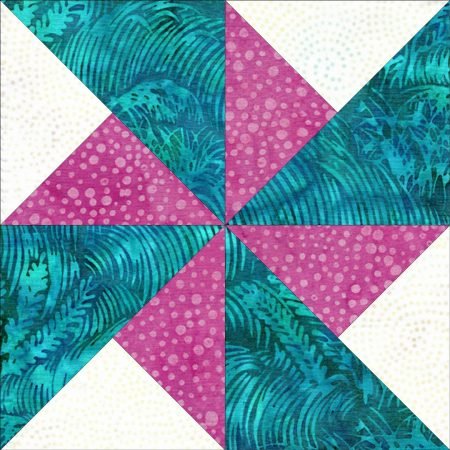
But… so is this!
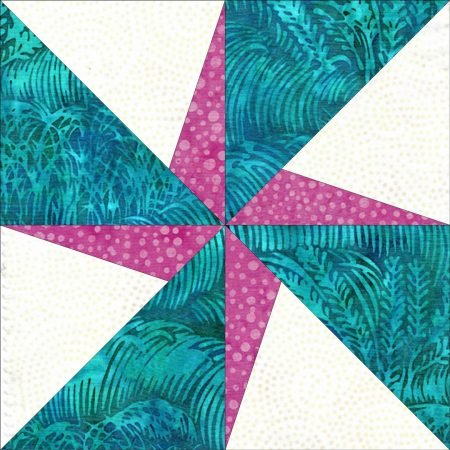
Sometimes that is what is confusing about quilt blocks- the same block may have more than one name and the same name can refer to more than one block!
Making the Block
Let’s look at making the first double pinwheel block.
The block is a basic four patch meaning it has 4 sections.
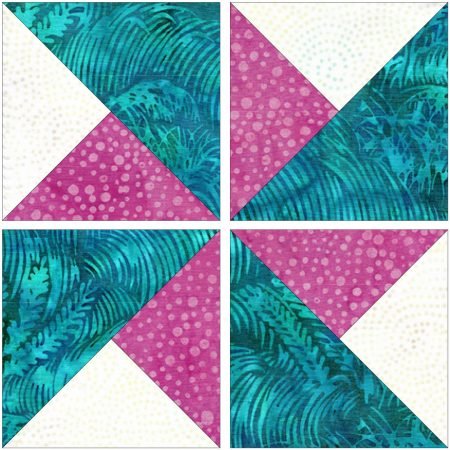
Each section is a partial quarter square triangle.
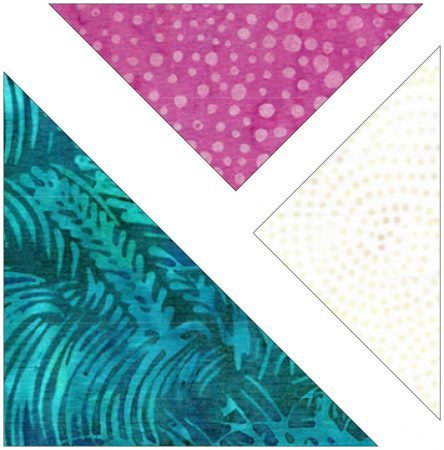
For tips on making partial quarter square triangle units, click here!
Traditionally you will see the block where all sections are all the same. But they don’t have to be! You could add more colors to the small pinwheels.
Making the Second Block
Now for the second block, I would probably paper piece it!
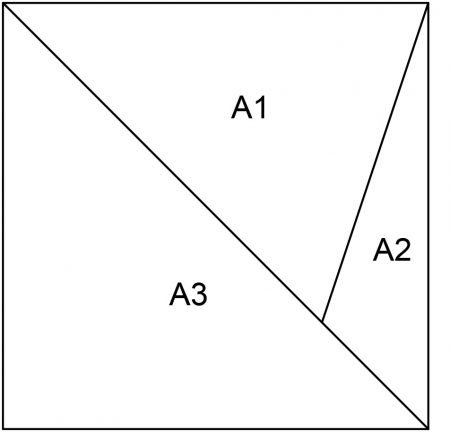
This unusual shaped triangles make it slightly tricky and when there is something tricky, paper piecing can save the day!
I might only paper piece the one side with the 2 small triangles and then sew them to a half square triangle, or you could paper piecing each section.

Sewing the 4 units Together
How about a tip for sewing the 4 units together?

Anytime I sew a 4 patch unit, whether it is just a simple block of 4 squares, or 4 units that are pieced, I sew them with the seams opposing so I can rotate, or swirl, that center seam.

Doing that helps those pieces to lay flatter. Need more information on swirling the seams? Go to this blog post!
Don’t forget to head over to Tammy’s post to get her tips- she always has great piecing tips and quilt ideas!!!
Next up in the A Quilter’s Alphabet series, Tammy and I are up to the letter M!
happy quilting!
Kate