Hi friends!
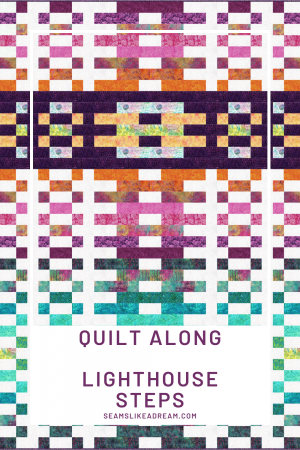
Welcome to the first post in the Lighthouse Steps Quilt Along! I am so happy you are here with me.
Quilt Along Plan
Just to recap the plan for this quilt along: I will be posting for 5 Fridays in March and April.
Click here to go to the Intro post to get the whole schedule!

Today I am going to be chatting about fabric and color placement as you need to decide what strip goes in what order Before you start cutting!
Fabric Arrangement
One of the first things you need to do, after picking your strip pack, background and contrast fabric, is decide where each strip goes in the quilt!
Need advice on picking your contrast and background fabric? Click here.
There are basically 2 different rows in the quilt and the pieces for each row have different cuts so… BEFORE YOU CUT, you must pick the order the strips will go in!
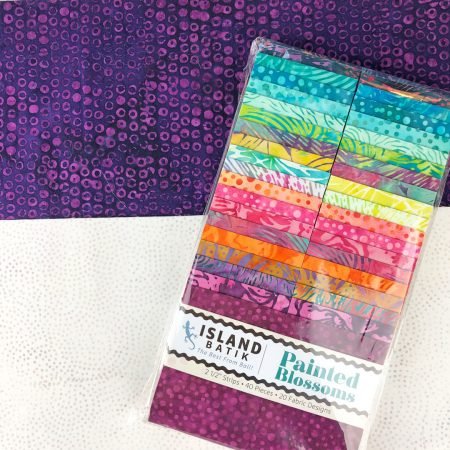
You can’t really change your mind midstream; unless the strip is switched to another spot cut the same way!
Choosing the Size Quilt for the Quilt Along
So let’s chat about your strip pack. I used a strip pack of Painted Blossoms batik fabrics for my quilt. The line is from Island Batik.
And it is yummy!
For the first quilt I made, I followed the instructions for the smaller size, the lap quilt. The quilt I am making now is the larger queen size.

Most strip packs have 40 strips in them. For the smaller size, you won’t need all the strips. So if there are 1 or 2 you don’t want to include, no worries!
For the larger queen size quilt, you will need an extra couple of strips. I will explain what I did when I show the order of my strips.
Once you know the size quilt you are making, you can start to separate the strips in your pack!
Center Section
The quilt is broken down into 3 sections. The center section uses just a small amount of strips.
I won’t be sharing any specifics about sizes, etc in the blog posts; you can get all the specific information in the pattern!
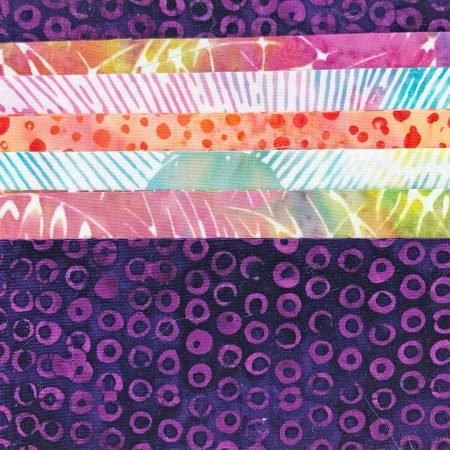
I usually start by picking the strips for this section first. Because my contrast fabric will be used as the “background” for these strips, I want them to have good contrast with the contrast!
Once I have these strips picked out, I move onto the top section.
Top Section
The top section is the mid size section. For the small quilt, there is no border so you don’t have to worry about the top strip being against any other fabric, just the binding!
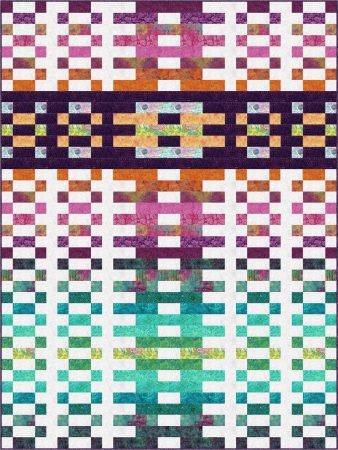
For the larger quilt, there are borders so you need to consider that when choosing the top strip. According to the pattern, the first border uses the contrast fabric so you want to make sure the top strip is not a close match in color.
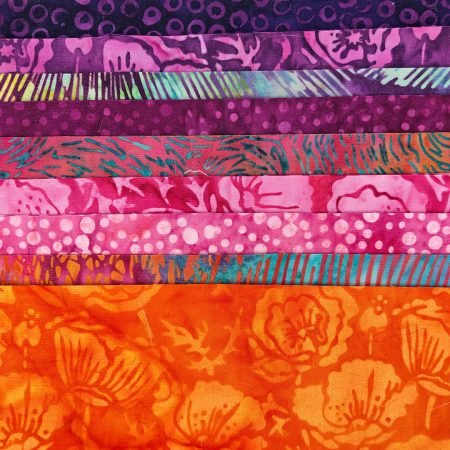
That is why if you look at my queen quilt layout, the order I used for the strips is not exactly the same as the order I used for the lap quilt.
For my strip pack, while it is not a rainbow of colors, I used a modified rainbow order for the strips.
Extra Strips
Anything to consider: for the larger size quilt, you will need to add 2 strips. I could have added 1 strip of the background and 1 strip of the contrast fabric and just mixed them into the order. They could have ended up in the center section, the top section or the bottom section.
I decided to use 2 strips of the contrast. It just seemed to look better. And I added both of my extra strips to the bottom section.
Bottom Section
This is the biggest section! So I just spent some time moving strips around until I found an order that I liked.
If you are using the same strip pack that I am, you can follow my plan or make up your own! Whatever looks good to you. For the lap size quilt, refer to quilt image above.

Okay! After much moving and placing and more moving around, I have my strips in the order I want! Yay!
Next Week in the Quilt Along
So, go play with your strips and work on the order. If you can’t decide, take a picture with your phone. Or walk away and come back later. There is no rule that says you have to decide all at once!
If you want to watch, I even recorded a short video about working with your strips! Click here!
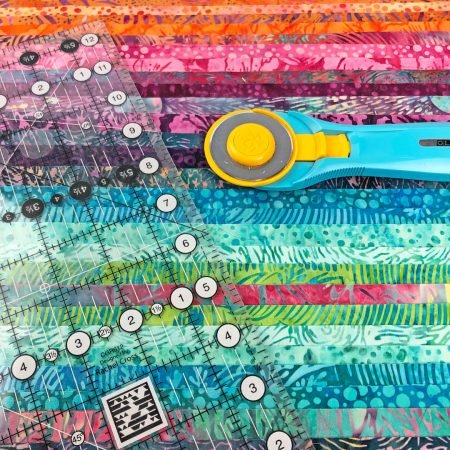
Once you have the order you want, take a picture of each section. Trust me, you will glad you did. Once we start cutting, it can get confusing!
Next week, I will share tips for cutting your strips. Organization will be key!
If you want to share any images with me, feel free to post pictures of your quilt on my Facebook page.
Or, if you want, you can send me any images and I will share them on my Facebook page! It is a great way to ask for advice from the quilt community!
Or you can post images on Instagram and tag me using @seamslikeadreamquilts and the hashtag #lighthousestepsquiltalong.
happy quilting!
Kate
