Hi friends!
Welcome to post #2 in the Lighthouse Steps Quilt Along! Today I have some cutting tips for you.

If you missed the earlier posts, click here for the Introductory post on fabric and here for post #1!
Fabrics for the Quilt Along
In the 2 earlier posts, I chatted about picking fabrics and organizing your strips. You have to know what order you will sew the strips into your quilt before you start cutting. But, once you know the order of the strips, it’s time to get set up for cutting!
So how did it go with organizing?
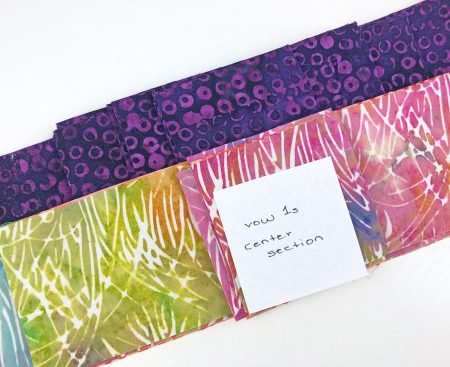
My smaller quilt is very structured; I repeated the order of the strips from top to bottom. The center section also repeats within the section- the top and bottom strips are the same, the next 2 strips are the same and then another strip in the center.
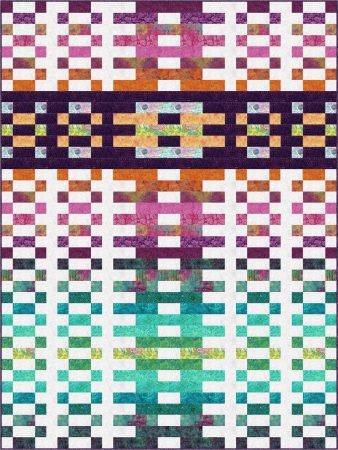
Of course, you can be much more scrappy and random! I just like the symmetry! As I wrote to one person, there is no right or wrong way to organize your strips; it just has to look good to you!
Before you start cutting, did you take a picture of the sections so you have a reference for the order of the strips? If not, do that now.
Cutting the Quilt Along strips
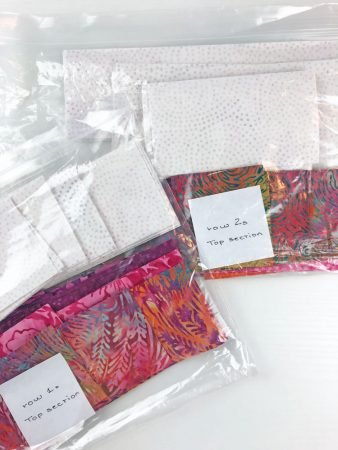
To get started, I like to get a few plastic bags, sticky notes and a pen. Just like when I was picking my strips, I tend to cut in sections. I find if I take my time, I am less likely to mess up!
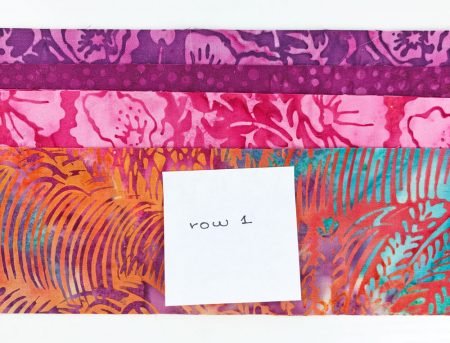
In my last post, I mentioned that there are 2 different rows for this quilt. They are referred to as Row 1 and Row 2. And the strips for each row are cut differently. So… if you accidentally cut a strip that should be for a Row 1 as a Row 2 you will need to reorganize the order of strips!
Start Cutting
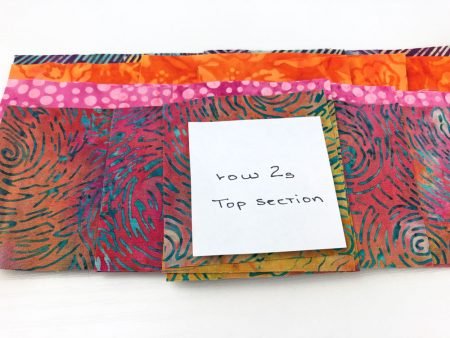
To get started, I would recommend starting with either the top section or the center section. Once you have your picture, so you can put the rows back in the right order later, separate the strips into Row 1 and Row 2 piles.
Referring to the pattern, cut all your Row 1 rows for that section. Then place them in the a bag marked as Top Section, Row 1.

Option- Once cut, you could mark each row- for example Row 1, Row 2, Row 3, Row 4… but you would either need a good way to store them or a lot of plastic bags! I have done it that way before but just separating by row type and section also works!
Then cut your Row 2 rows for that section and place them in their bag.
Keep working to cut row types (either a Row 1 or a Row 2) and separate them by section and type. I have found it easier to separate the bottom section into smaller groups rather than lump all the Row 1s into one bag.
Tip: Be very careful cutting! Be sure to follow the row type for your size quilt and not to mix them up. If you are worried about accidentally cutting Row 2 rows the same as Row 1 rows if you go back and forth, then cut all the Row 1 rows first, separating into bags by section and THEN, cut all your Row 2 rows.
You know best how you work and what would help you to not make a cutting mistake!
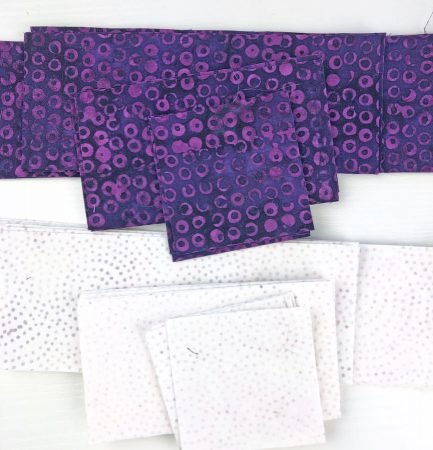
Cutting Background and Contrast Fabric
Next you will cut your background strips and contrast strips. Then cut those strips into the smaller pieces, some will be for Row 1 rows and some for Row 2 rows.
I like to add the pieces for each row type into the bags for each section. That way, when I start to sew, everything I need for the rows is all together!

The contrast pieces are for the center section.
So start cutting! Remember to take your time and stay organized so you don’t accidentally cut a strip the wrong way!
If you want to watch, I even recorded a short video about cutting your strips! Click here to see it!
I will see you back here next week for tips on sewing the rows.
Happy quilting!
Kate
P.S. If you need any general tips on cutting fabrics, I have a blog post with my best tips here!