Welcome to our series exploring quilting basics! Previously, we looked at touches you may want to consider when gifting a quilt. Coming up next in our basics lineup is the four patch quilt block. Or if you would like to start from the beginning and work through all the topics, you can find them all here.
Hi friends!
Today’s post in the Exploring the Basics series is about strip piecing.

I thought I would share my top 3 tips for strip piecing.
Tip #1
Before sewing long strips together, I like to place them right sides together and give them a press. The pressing nestles the fabrics together and I find they stay lined up better as I sew.
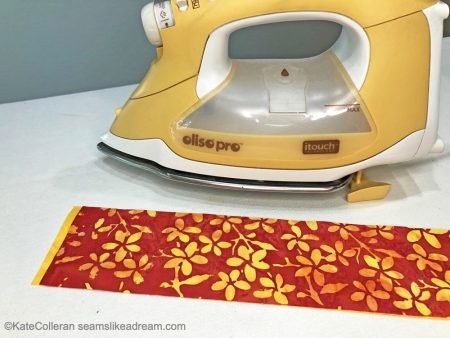
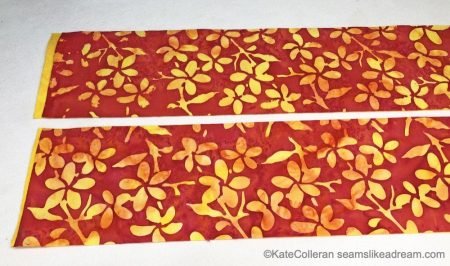
Also, when possible, I like to cut the strips in half so I am sewing shorter strips. It is easier to maneuver shorter strips; of course, doing this depends on the size I need to sub cut my units to later!
Tip #2
When pressing the strip sets, it is pretty easy to press them into a curve! I first press the strip set flat. Then from the right side, I finger press the seam to one side.

Next I press with the iron. To make sure I don’t press the long strip into a curve, I don’t run my iron along the seam. I press in short sections and straighten the strip set as needed. If you have lines on your ironing pad, that is super helpful or you could draw a line on my ironing surface with a permanent marker. Just be sure the marks are permanent before putting your fabric down near them!

Just be gentle; you don’t want to save time by strip piecing only to have a curved strip set you can’t use!
Tip #3
If I will be sewing units from the strip sets together, for example I might be sewing two units together into a 4 patch, then I like to lay the strips right sides together before I cut them into the correct sized units. That way they are already together and ready to sew!
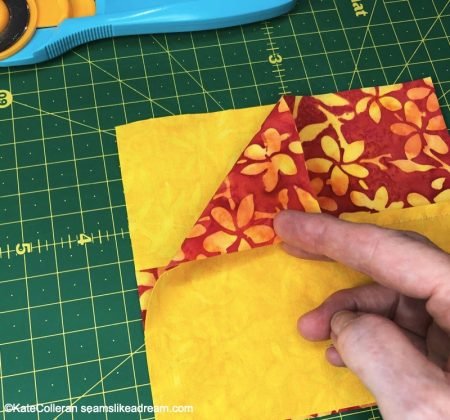
When possible, place the strips so the top strip seam faces away from you and the bottom strip seam faces towards you.

That way, when sewing the units together, the seams will stay nested together and it is less likely that bottom seam will get folded the wrong way as you sew!
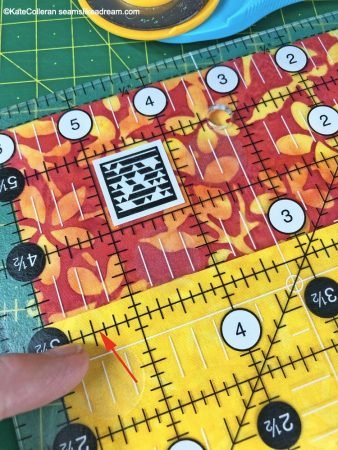
Next I cut them into the size units I need.
And here is the tip: line up your ruler with the seam line to keep the ruler straight on the strip set. The top and bottom edges can be a little wavy sometimes.
For more tips on cutting, especially cutting first into larger units, then smaller, click here to check out my tips on cutting.
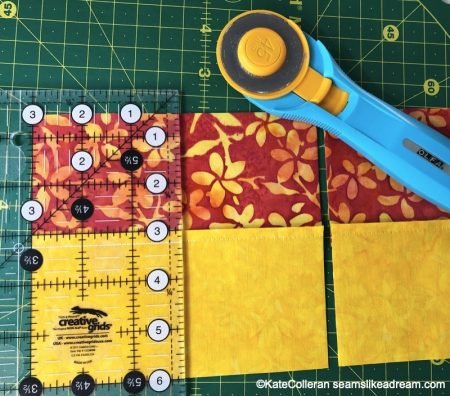
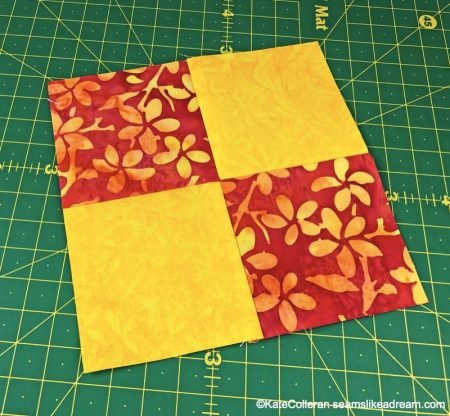
Strip piecing is a great way to sew efficiently! You can use this method for making 4 patch units…
Or for making sections for a split rail design or for many other units.

Look at the pattern before you start cutting your pieces for a block. While the pattern may have you cut squares instead of strip piecing, you can always change things up!
In fact I often don’t include strip piecing instructions in my patterns. Why don’t I write it in? Well, that is great question! First, I write my patterns for beginners and not everyone is comfortable with making strip sets right away. Sometimes though it is the best way to make something so I will include it.
Second, to make cutting more efficient, I might not include strip piecing. It is hard to calculate the best way to make something, but often I look at ways to get the most out of each strip.
Third, more experience quilters know to look thru a pattern and figure out how they want to create it. A quilt pattern is a guide, a starting point. It gives you the basics but you can always make adjustments!
And lastly, while this may sound weird, I like piecing squares or small rectangles together. There is something relaxing about it. I like the act of sewing and don’t always think in terms of what is faster!
Bonus Strip Piecing Tip!
Once you make those 4 patch units, don’t forget to swirl those seams! Check out this blog post for more information.

Go check out Tammy’s post and see her great tips for strip piecing!
Next time in Exploring the Basics, we will be discussing 4 patch units in greater detail.
happy quilting!
Kate
Very helpful hints. Even though I have quilted for years, I need a refresher now and then on basics…thank you……
Dottie,
That is what is great about quilting, we all learn so much from each other! Thank you for reading and letting me know it was helpful.
Happy New Year!