Hi friends!
Today as part of the Exploring the Basics series, Tammy and I are chatting about the Strip Star quilt block. If you have been following along on Instagram, you might know that each month we sponsor a series of posts where quilt designers are challenge to reimagine a basic quilt block. This month it was the strip star block!
The Strip Star Quilt Block
You might not know the block by name; I didn’t! But this is the block.
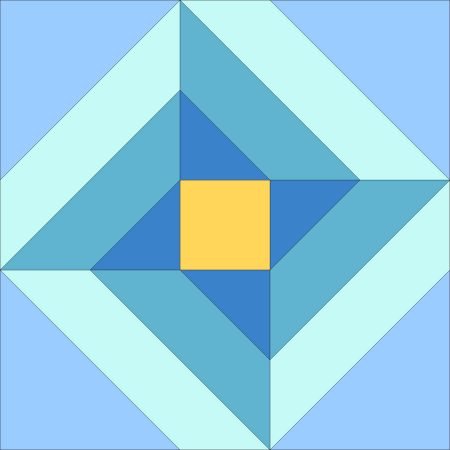
The first thing I notice when looking at this block is the star. And, I wondered – how I was going to change it up? I decided that while for many of our block challenges, I have altered the basic block to make it into something new, this time I would just rely on color.
Step 1? Print out the block without color to see what other patterns emerge.
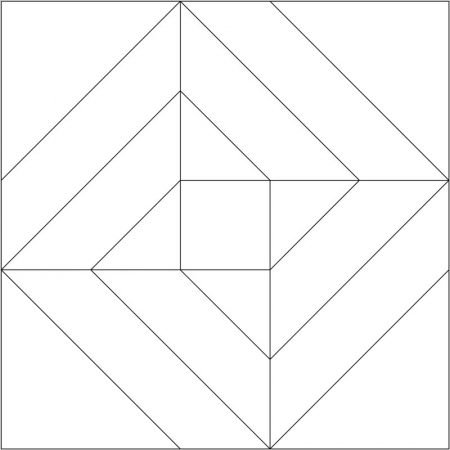
Ok. Now I see these rings… hmmm…

Coloring the Block
I am lucky in that, since I use EQ8, it is so easy to recolor the block in the program. No eraser involved!
I was able to play around with the block and see what shapes I could create without actually having to color with pencils. Which was good because this one was a lot of trial and error!
First I had to nail down where I wanted the different colors to go; the dark, the light, the medium…
Did I want more than one color in the center of the block?
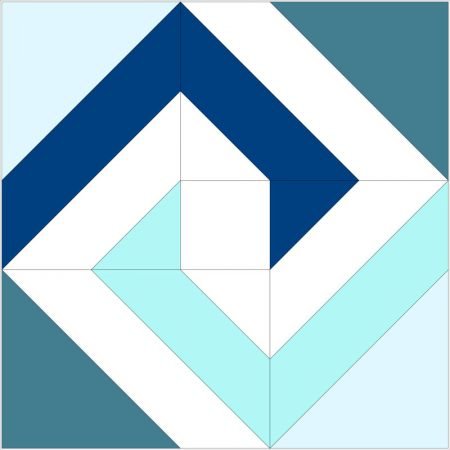
Did I want one color?

And I as I started to put the blocks together into the quilt, I changed them up some more.
The Fabrics
Then, I knew I wanted to use fabrics from my new Signature line with Island Batik, Moonlight Sky, but which colors? And where each color would go?

Playing with fabrics is sooo… fun! I knew I wanted to have more than just the one color version of the block; I wanted to have a couple of blocks. My final fabric pull were these –
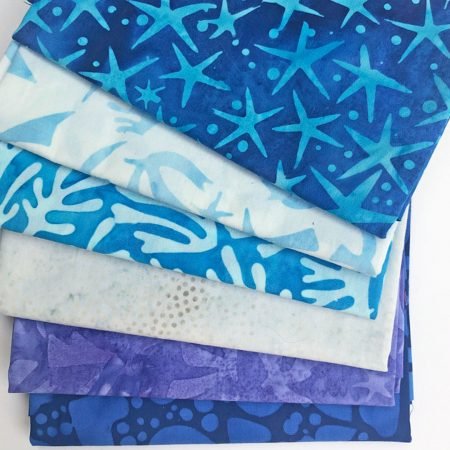
3 blues, a lavender and a white print from the line and a second “background” fabric called Rice; a light blue with texture. The 2 light colors were my backgrounds, the medium dark blue with the stars was my constant in the blocks and the other 3 colors my main block colors.
Because, after a little trial and error, I realized I had created 2 blocks- one with the sections going one way –
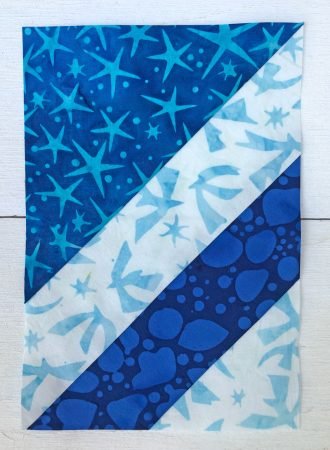
and one with the sections going the other way.
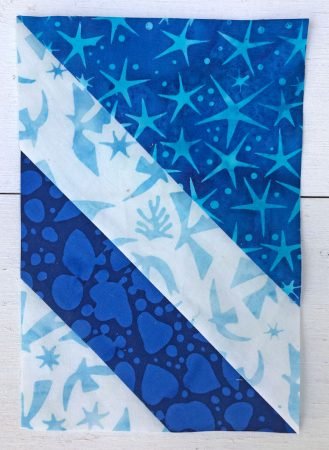
Or really 6 blocks because I have blocks with 3 different color sets!
Now that I have a my reimagined block, a fabric plan and a quilt plan, now I have to make the blocks!
Sewing the Block
So, how will I sew this block? There are probably other ways- cutting strips and sewing them together, but I decided to paper piece. Are you a paper piecing lover or hater? I am a paper piecing liker. I don’t seek it out but sometimes it is just the best way to make piecing a block easier. Even a block with big pieces like this one.
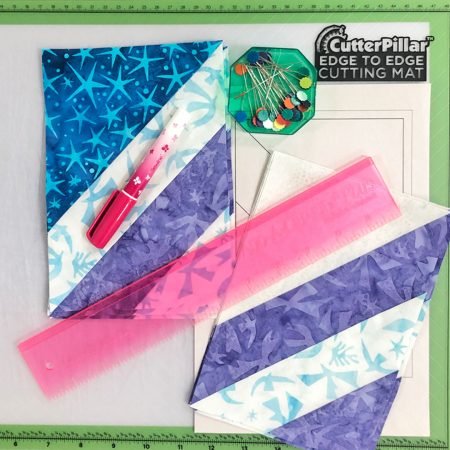
I had to mark my all my paper patterns – with the colors and the unit number so I knew what went where.

Once I had my pieces cut, my papers lined up and separated by block and it was a lot of sewing, step by step. And it actually went really fast! The pieces are big, so once they were pinned in place, each section sewed together pretty quickly.
Need paper piecing tips? Click here for my blog post on paper piecing!
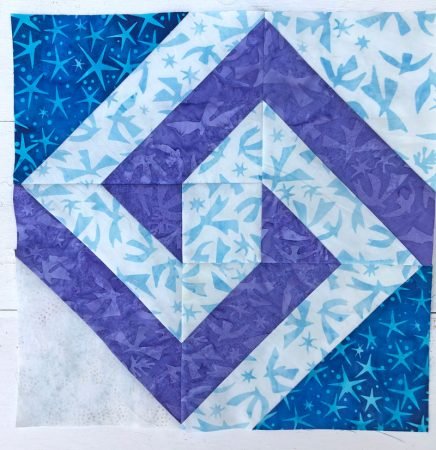
Now that I had the sections for each block, it was time to sew the blocks section together. Sewing the blocks involved sewing a partial seam. Another method that looks hard but isn’t.
If you haven’t done a partial seam before, click here to go to my block post explaining how to do it!
Here is one of my blocks!
The Quilt!
And here is my quilt top!

I used the bocks to create a secondary pattern and then added the pieced border to reinforce the shapes. Here is my EQ rendition; they look pretty close!
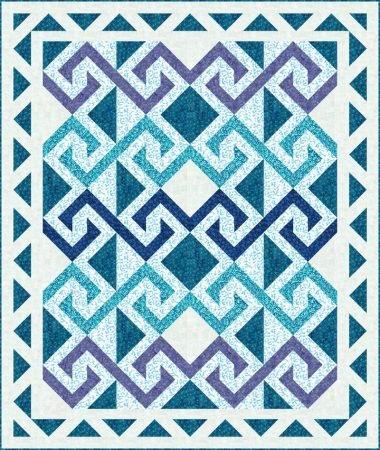
Now my quilt is off to the quilter.
And while I would probably make a few changes if I were to make this one again, I am really pleased with how it came out!
Be sure to check out Tammy’s post here and see her version of the strip star quilt block and her tips! she always has good tips! and if you want to see what all the other designers came up with , go to Instagram and search with the #stripstarblockchallenge.
happy quilting!
Kate
P.S. this week Tammy is hosting a blog hop for her new Signature Line with Island Batik called Peacock Plumes.

Be sure to check out all the quilters’ posts! I will be back here Friday for my post in her hop and I will show some of my quilts in the fabrics!
Sept 27: Tammy Silvers – Tamarinis
Sept 28: Leanne Parsons – Devoted Quilter
Laura Strickland – Orange Blossom Quilt Design
Pamela Boatright – Pamela Quilts
Sept 29: Swan Sheridan – Swan Amity Studios
Lisa Ruble – Love to Color My World
Claudia Porter – Create with Claudia
Sept 30: Laura Piland – Slice of Pi Quilts
Raija Salomaa – Quilter’s Treasure Chest
Kathryn LeBlanc – Dragonfly’s Quilting Design Studio
Oct 1: Kate Colleran – Kate Colleran Designs