Welcome to our series exploring quilting basics! Previously, we looked at ways to sew flying geese. Coming up next in our basics lineup are some tips for using a quilt design wall. Or if you would like to start from the beginning and work through all the topics, you can find them all here.
Hi friends!
Today in the Exploring the Basics series, Tammy and I are sharing some tips for making Quarter Square Triangles blocks or QSTs.

Quarter Square Triangles: a Step by Step Tutorial
You will see QST units put into a bigger block, like in Block 2 of Luminous.
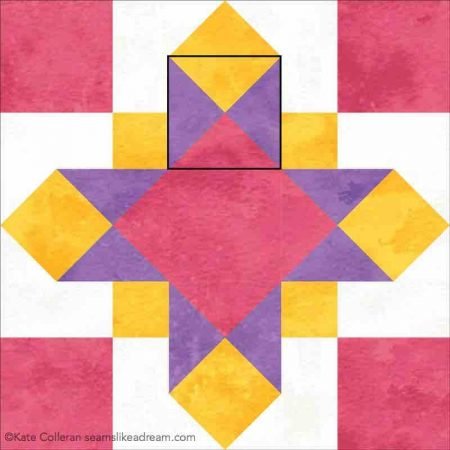
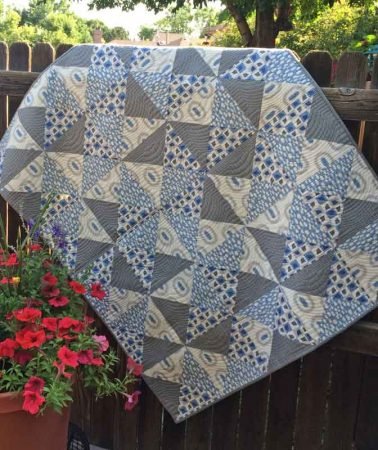
Or as a block like in my quilt Quarter Turn.
The block can have only 2 fabrics or have 4 fabrics.
I suppose it could have as many as you want if you start with pieced blocks – but let’s keep this simple!
The Formula for Quarter Square Triangles:
First we need to know what size to cut our pieces. The math for this is pretty simple: cut the squares of your fabrics 1 ¼” bigger than the FINISHED size of the QST unit.
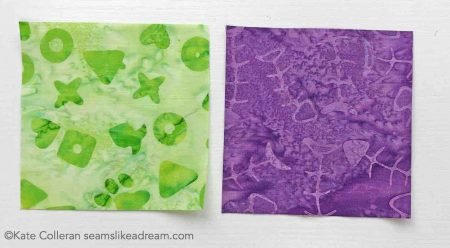
For example: If your QST unit needs to finish at 2” square, which means it needs to be 2 ½” unfinished, you would cut your squares at 3 ¼”. If your finished unit is 2 ½”, then it needs to be 3” unfinished and you would cut your squares at 3 ¾”.
If you want to add a little wiggle room when making your quarter square triangles units, add a 1 ½” instead of 1 ¼”.
How to Make Quarter Square Traingles: Option 1
To make QST units that use 2 fabrics and that end up with 2 identical QST units:
- Draw a diagonal line corner to corner on the wrong side of the lightest square. Or you can draw 2 sewing lines, ¼” away from the diagonal line.

- Layer the 2 squares RST and sew ¼” away from the diagonal line on both sides.
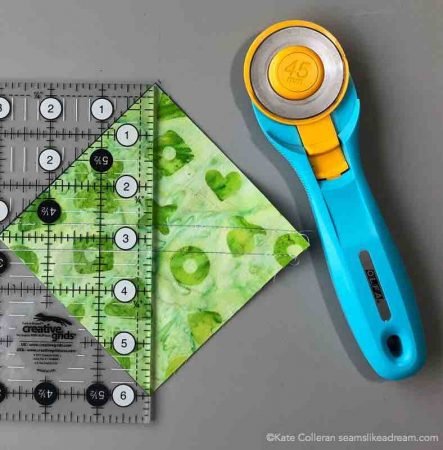
- Cut along the opposite diagonal line first, then cut along the diagonal line between the sewing lines.
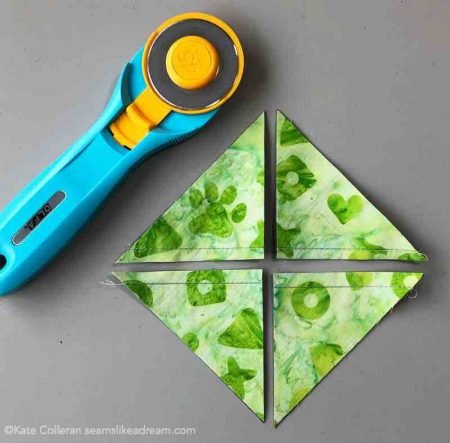
You will have 4 triangle units.
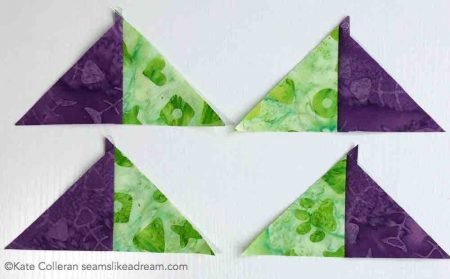
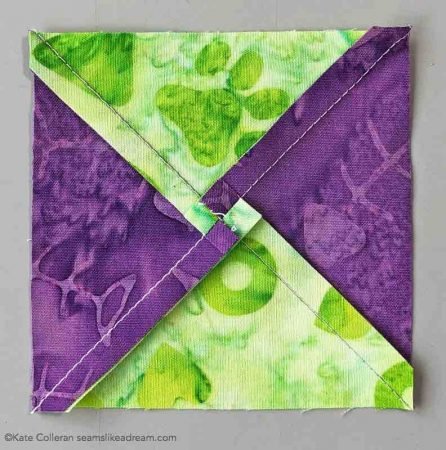
- Sew 2 triangles units together, nesting the seam allowances.
- Repeat with the remaining 2 triangle units for 2 identical QST blocks. Trim as needed.

Tip: To make the QST unit lay flat, rotate press the seams. See this blog post for more information on that pressing technique.
How to Make Quarter Square Traingles: Option 2
In option 2 we are going to make the same QST blocks but use a slightly different method.
- In this method, we start the same way and layer the 2 squares RST and sew ¼” away from the diagonal line on both sides.
- Next cut along the diagonal line in between the sewing lines and you will have 2 HST units.
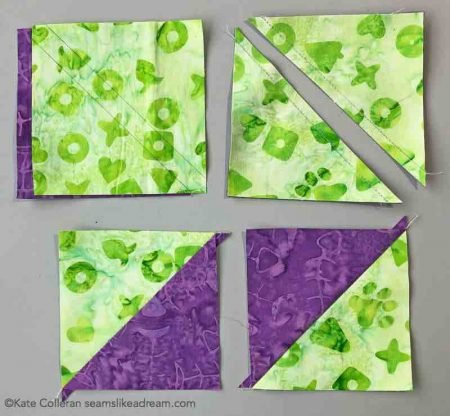
Note: while this method starts out the same as the HST method I showed in the HST post, remember to cut the square following the QST math, not the HST math!
- Layer the HST right sides together, nesting seams with opposite fabrics on top of one another.

- Draw 2 lines, a ¼” away from the diagonal line, sew on the lines and cut along the diagonal line. You will have 2 QST units.
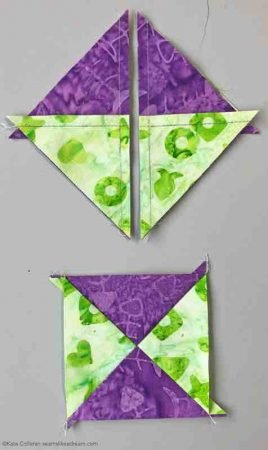
Note: for both option 1 and option 2, trim the units to size once they are sewn together in the last step. Don’t worry about sizes of the HSTs or the triangle units.
How to Make Quarter Square Traingles: Option 3
To make QST units with 4 fabrics, if you follow option 1 or 2, you will end up with 4 QST units that are mirror images of each other.

But, what if you want 4 fabrics AND you want all the QST the same? You could just cut all your squares into 4 triangles and sew them together but there is an easier way!
- Start with drawing 2 lines along each diagonal on the wrong side of one fabric.
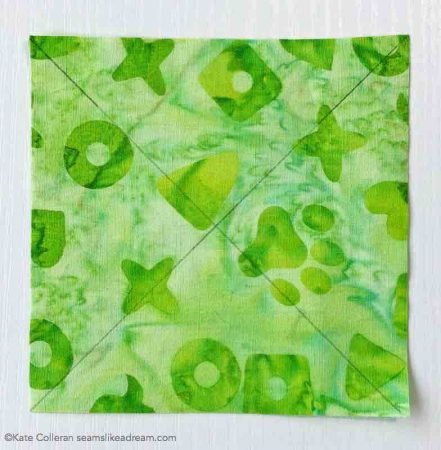
- Layer it together with a second fabric and then sew ¼” away from the diagonal line, but only on one side of the line and only to the center of the block. I like to backstitch at the center.
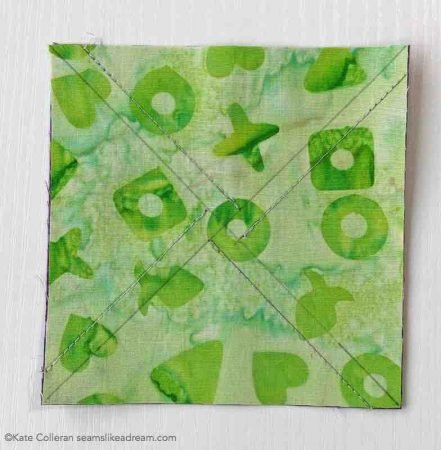
- Cut along both diagonal lines and you will have 4 triangle units that are the same.
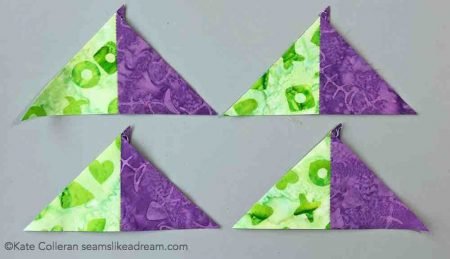
Tip: if you want to the fabric that is on the bottom to be on the left of the unit when done, sew to the left of each line. If you want the fabric that is on the bottom to be on the right, sew to the right of the line.
- Repeat with your other 2 fabrics and then sew the triangle units together into QSTs.
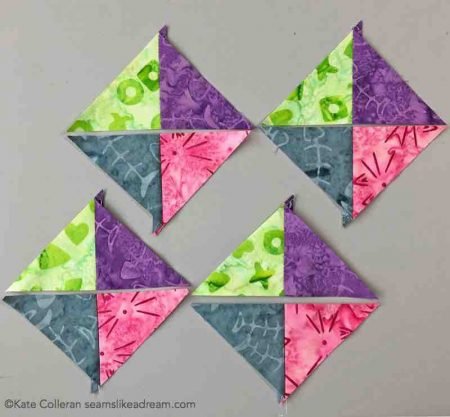
3 Triangle Units
Another unit that uses a combination of the QST unit and the HST is called, well, it is called many things! Some call it 3 piece QST unit, the 3 triangle unit…
It looks like this:

It is super easy to make-just make a triangle unit following one of the methods above and then add a half square triangle to the bottom. Just remember to cut all your pieces for the 2 triangles following the math for a QST unit and the HST triangle piece following the math for a HST unit!!
Do you have a different name for the 3 triangle unit? I would love to hear what you call it! Leave me comment and let me know.
Don’t forget to head over to Tammys’ post and see what great tips and tricks she has for you!
happy quilting!
Kate
I don’t think I mentioned when I read this the other day how much I really loved Option 3! I went right to the cutting board and tried that out and it was great! I did realize when I used it a second time for a quarter square/half square combination, that you have to think about whether you want all four the same or two of each, because it matters in some cases, so I was happy that you had multiple options. =) Thank you!
Susan,
You are welcome! I love playing around and seeing what happens when you try the same technique in different ways.