Hi friends!
I am so excited about this post! This is my part of a quilt collaboration with Leah Day. Today I am going to share with you a mini quilt top I made and then tomorrow you can pop on over to Leah’s blog and see how she quilted it.
Back in the fall I met Leah Day at Quilt Market in Houston. I went over to chat with my friend Jackie Kunkel of Canton Village Quiltworks and she introduced me to Leah. We were hanging out around the Island Batik booth where Jackie was showing off her fabric line and her new patterns!

Leah asked me if I was interested in working with her on a collaboration she was doing with other quilter designers. I would make a small block or mini quilt- no larger than 14″, send the quilt top to her and she would quilt it. Of course I said yes!
Leah Day is an amazing machine quilter:
she has classes on Craftsy as well as many tutorials and You Tube videos on her blog and website to help you learn to quilt on your home machine.
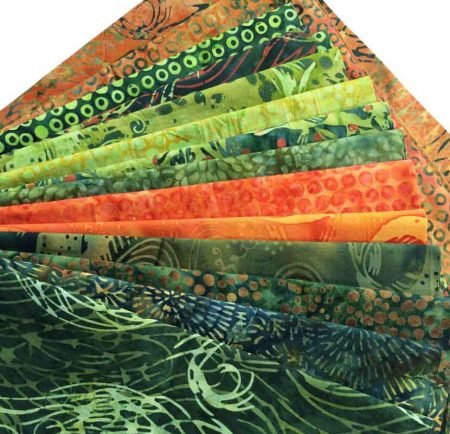
So back to my block. What should I make? And with what fabric? I contacted Jackie Kunkel and asked about using her new line I saw at Quilt Market called Fresh Catch. And she said yes!

Don’t you love that pop of orange?
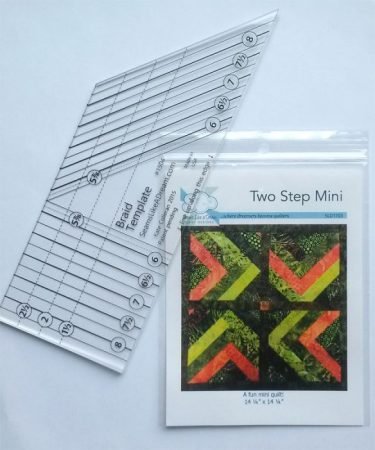
I decided to make small braid blocks using my Braid Template. Of course I did! The braid is such a wonderful design element, letting you combine colors and fabrics in a quick block or border to really punch up your quilt.
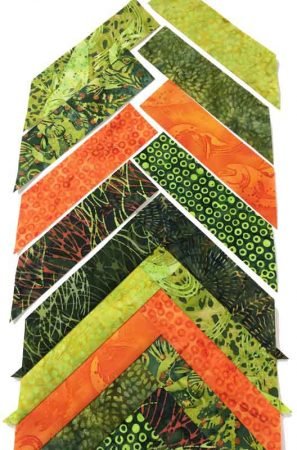
The technique for this block is really easy – first I built one long braid section.

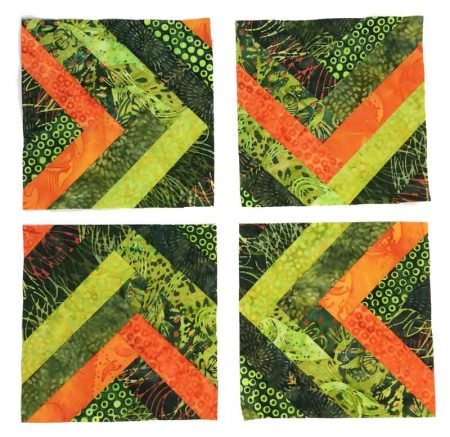
Then I cut it to size for the individual panels in my mini-quilt.

I rotated the blocks, added some sashing and a pop of color with an light orange sashing square and the block was off to Leah for quilting!

To be honest, I just love using my braid template and making these blocks. And I have been meaning to make a more in-depth You Tube video on how to use my template, so this was just the push I needed!
Click on the videos below to see how I used the Braid Template to cut my shapes and then how I sewed them together. So easy peasy! Here is the cutting video:
And here is the sewing and trimming video:
I hope those videos were helpful! Of course, in the sewing video, it would have been really good if I remembered to keep my rotary cutter handy when I was showing you how to trim the braid segments!
I liked this cute little mini quilt made with Leah Day so much that I decided to write it as a small mini pattern.
And this week only, I am offering the Two Step mini quilt pattern and the Braid Template together for a special discount! Just click here to purchase the special combo I created and save $3 on the pair. Offer will be good until February 28th.

Tomorrow Leah Day will blog about how she quilted the Two Step mini quilt top. I can’t wait for you to see what she did! I will update the link so you can come here and click to go to her blog post.
happy quilting,
Kate
Have loved the fabric line since it’s introduction and your mini quilt pattern is perfect for it!
What a great quild, love it
What a great little quilt. I love the colors of the fabric and I’m really happy to see such great collaboration among some really talented ladies. Thank you!!
You are so smart! I love the way you put it together with each square “pointing” a different direction and forming a new square in the center!
I love your cute little quilt…and the colors are gorgeous. That pop of orange is perfect.
Fun and somehow easy.
Thank you so much.