Hi friends!
Today as part of the Exploring Quilting Basics blog series, Tammy and I are chatting about the Rail Fence block!

Rail Fence Block
The rail fence block is often thought of as a pretty basic block. Which it is. Perfect for beginners.
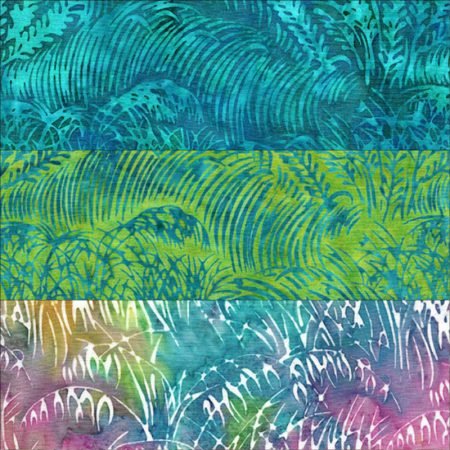
Sometimes you will see the block with 3 rails and sometimes with 4 rails or more rails. Usually the rails are all the same size.
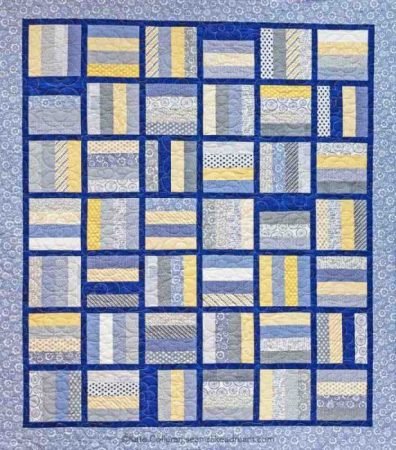
But that doesn’t mean you can’t create dynamic quilts with the block! I used a jellyroll to create this rail fence style quilt I called Hop the Fence!
Quilt Block Reimagination challenge
Tammy and I started a block challenge on Instagram a few months ago. We wanted to challenge other quilt pattern designers to take a seemingly basic quilt block and reimagine it! Our first block was the Snowball block and this month it was the Rail Fence!
The first week we shared our fabric pulls, then sneak peeks of the block and on Monday we shared our reveals!
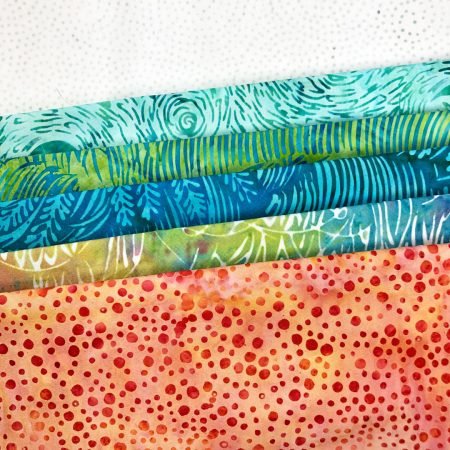
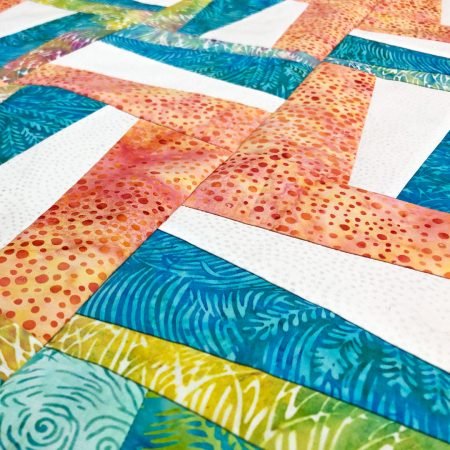
Mine is still a pretty basic block- I took the block, angled the lines of the rails and created 2 color ways of the block.
But due to the angled lines, I decided to paper piece my new rail fence quilt block. So much easier!
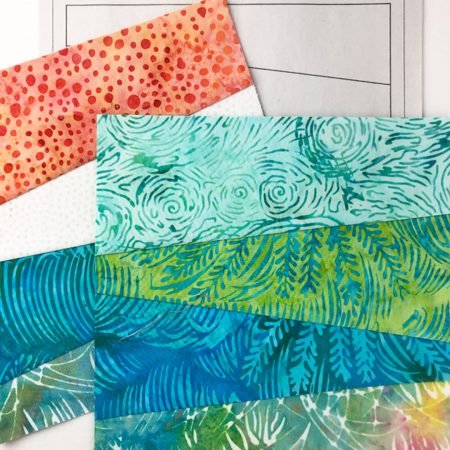
So are you a paper piece lover or hater? Tammy and I have done 2 posts on paper piecing- click here for the most recent post and here for my post on exactly how I paper piece!
And of course I used some of my new fabric line, Painted Blossoms from Island Batik, to make the blocks!
And ta-da! My reimagined Rail Fence crib quilt!
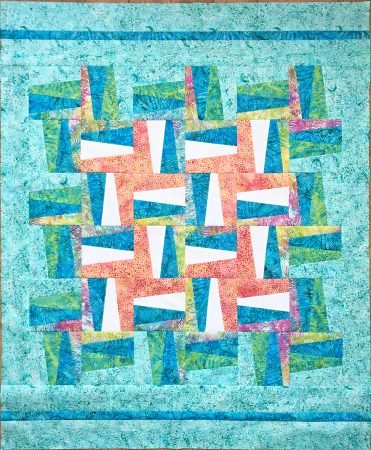
I love how the blocks, when turned around, create these pinwheels.
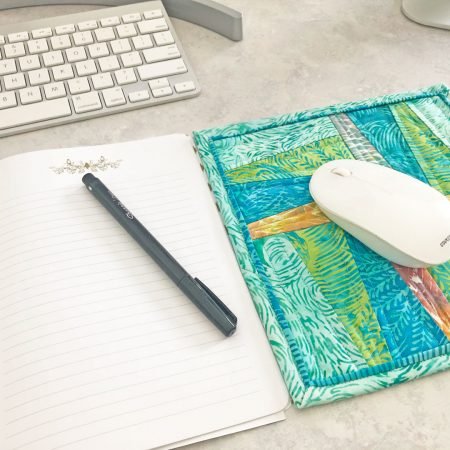
I also made smaller blocks into a little mini quilt that could be used as a mug rug or a mouse pad!
So tell me, do you avoid quilts with the rail fence; is it just too simple? I was thinking about making this into a pattern… hmmm….
Click here to go to Tammy’s post and see her re-imagined Rail Fence block!

Next week in the A Quilter’s Alphabet series, Tammy and I are up to the letter P!
happy quilting!
Kate
I love your Reimagined Rail Fence baby crib quilt.
Is there a pattern available for this quilt.
This link does not work: Click here to go to Tammy’s post and see her re-imagined Rail Fence block!
Hi Becky,
thanks for your comment! First, I have to remove all Tammy’s links. She lost her entire blog when the platform she used shut down and so one of these days, I need to go and remove them all since her blog is gone. Poor thing. But there are a lot of them!
Second, I haven’t put that together as a pattern but it is on the list! I will try to get to it soon! thanks for asking.