Welcome to our series on quilting basics! Previously, we looked at our top 5 tips for pressing quilt seams. Coming up next in our basics lineup are easy half square triangles. Or if you would like to start from the beginning and work through all the topics, you can find them all here.
Hi friends!
Today in the Exploring the Basics blog series, Tammy and I are talking about something many of us struggle with: that elusive, perfect ¼” seam allowance!
How to Achieve the Perfect 1/4″ Seam:
Sewing with a consistent ¼” seam makes such a huge difference in the construction of your quilt. Unless you are doing an improv quilt and you can just make things fit!
A consistent seam means less frustration because units are the right size, which means your block ends up the right size so the blocks fit together and the quilt comes together smoothly.
What do we need to think about to get a good ¼” seam? Let’s talk about fabric, thread, our machine and my favorite tools.
Fabric
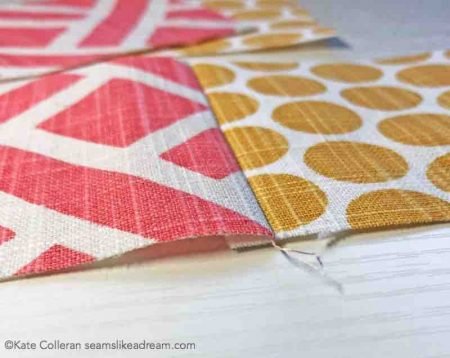
Most of us are using quilting cotton or batiks to make our quilts. But, when we use alternate materials, we need to realize that we may need to adjust our seam as the fabric takes up more space in our seam allowance.
A great example is flannel, fleece or canvas. The fabric at the fold is thicker and therefore we may need to reduce the size of our seam to account for the extra bulk in the seam. You can also press the seams open, but you still may need to adjust the size of your seam allowance.
Of course, there is great variety in the thickness and weave of various quilting cottons and batiks so checking our seam each time we use new fabrics is a great idea!
Thread for your 1/4″ Seam:
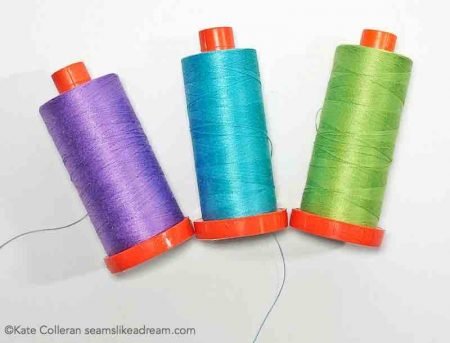
Thread comes in various thicknesses. In an upcoming blog post, I am going to talk more about thread. But for your ¼” seam, the thing to keep in mind is that the thicker the thread, the more room it will take up in your seam allowance. So just like with thicker fabric, you may have to adjust the size of your seam to account for your thread. I usually sew with Aurifil 50wt thread which I like as it is pretty thin but strong and takes up only a little space in the seam.
Aurifil Thread
You may have heard the term, a scant ¼” seam. A scant ¼” seam means that the seam allowance is just a tiny bit smaller than a full ¼” seam. That little bit may mean the difference between your pieces being the right size or being too small, especially depending on your fabric and thread.
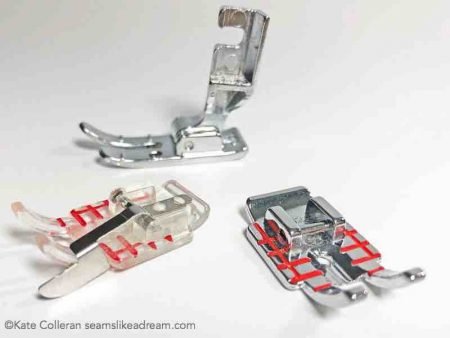
Machine Feet
Many of us rely on the ¼” foot that comes with our machine. Some feet even have a flange that you can butt your fabric up against to help keep the fabric feeding consistently straight to the needle. Keep in mind though, just putting the foot on your machine doesn’t mean seam is the size you need!
Test your 1/4″ Seam:
You need to test your ¼” seam. What is the best way to test your ¼” seam? Most people measure the seam. I measure the unit I am sewing. To be honest, do I really care if my seam is a perfect ¼” if my unit is too small?
I need MY perfect ¼” seam for MY current project that makes My blocks the right size.
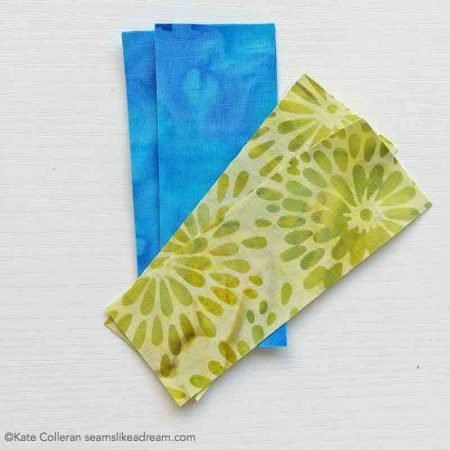
This is how I check my seam is the size I need. First I cut some small rectangles using pieces of the fabric from my current quilt project. I like to cut them 1 ½” wide by about 4” long.
If you have ever taken a quilt class with me, I usually bring some cut fabric pieces to let my students test their seams.
Then I sew 3 rectangles together. I press the seams to the outside strips and then measure the inside rectangle. It should be 1” wide. I measure it by laying my 1 ruler right on to top of the piece. And just to be safe, I measure the width of the strip at the center (which should be 3 ½” wide). That way I can tell a lot about how I am sewing.
If my middle rectangle is larger than 1”, my seam is too small.
Seam is too small
If my middle rectangle is smaller than 1”, my seam is too big.
Seam is too big
If my middle rectangle is exactly 1”, my seam is just right!
Seam is just right!
Of course, for this test to be helpful, you have to make sure you cut your strips accurately! Read about my cutting tips in this blog post.
Tools for your 1/4″ Seam:
So how do I ensure I can get my perfect ¼” seam consistently? Here are 3 tools that work for me.
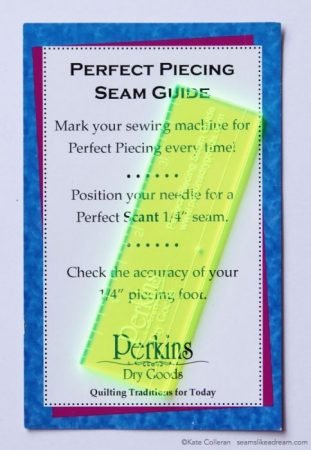
Tool #1– the Perfect Piecing Seam Guide from Perkins Dry Goods. I use this to establish the line for my good scant ¼” seam.
Perfect Piecing Seam Guide
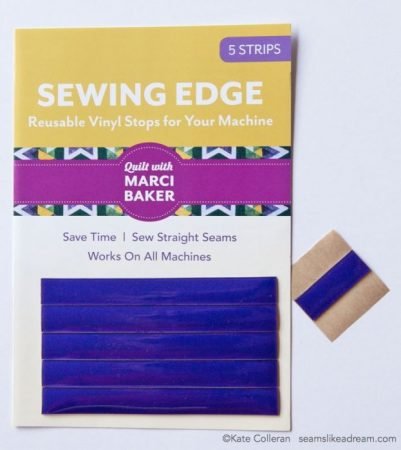
Tool #2– the Sewing Edge vinyl stop from C&T Publishing. I cut a small piece, lay it on my sewing machine butted up next to the seam guide and I have something to use as a guide for my fabric. It keeps the fabric lined up even before it gets to the needle!
Sewing Edge
Tool #3– my Sew Steady extension worktable. Having a big, flat surface to keep my fabric flat and steady as it heads towards the needle has made a huge difference in my piecing.
Remember, a new project means new fabric and thread, so check your ¼” seam every time you start a new project. It’s also means it’s time to change the needle!
So that’s it! I hope my tips are helpful for you. Remember, it’s not really the size of your seam that matters; it’s whether or not, when your fabrics are sewn together, they make the right size block!
What are your favorite tools for achieving and maintaining that perfect ¼” seam? Let us know in the comments!
Don’t forget to click here and check out Tammy’s post for more great tips!


One comment