Welcome to our series Exploring Quilting Basics! We left off with a discussion of the half rectangle triangle block. Next time, we’ll be exploring hanging sleeves and half square triangles. For an overview of the series, you can check out all of the posts here.
For today’s blog post in the Exploring the Basics series, Tammy and I are talking about the Peaky and Spike block unit.

AKA the V block. Or triangles within squares. Star Points. But I like the name Peaky and Spike!
Peaky and Spike- where did the name come from?
So how did this unit get the name Peaky and Spike? The names for the 2 different triangles in the block were coined by the late Doreen Speckmann. Doreen was a quilt teacher and designed with a fun sense of humor!
I was lucky enough to take a class with Doreen at the Vermont Quilt Festival in 1994! And I still have my signed book from her.
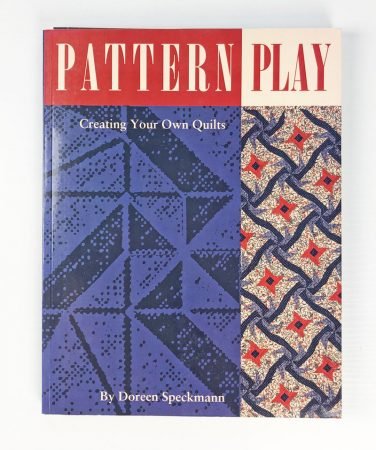
Do you know which shape is Peaky and which is Spike? I bet they aren’t what you think!
This shape is Peaky.

And this shape is Spike!
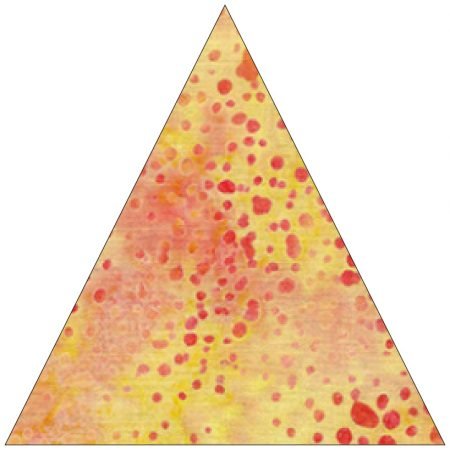
In her book Doreen admits that friends (friends from Denver!) mentioned that Spike really looks more like a mountain peak and that the names should be reversed. But, Doreen realized she named the triangles for how she viewed their personalities, not their shapes! So funny. (If you search online for her shapes, you will see the faces she drew on them!)
Construction of the Unit
While you can cut these shapes using a regular ruler, it works os much better if you use a ruler set such as the Tri-Recs rulers or the Creative Grids Triangle Squared and the Perfect Rectangle.
I have showed these rulers before for the Half Rectangle and for the Diamond Rec units.
Let’s do a quick review on cutting.
Using either of the rulers, cut the strip to size based on your block size. My peaky and spike unit will be unfinished 4 ½” /finished 4″ so I cut my strips at 4 ½”.
Lay the ruler on the strip and cut your spike (or tri) triangles, rotating the ruler to continue cutting across the strip.

For Peaky (or recs), you will need 2 triangles with opposite angles to sew on either side of Spike.
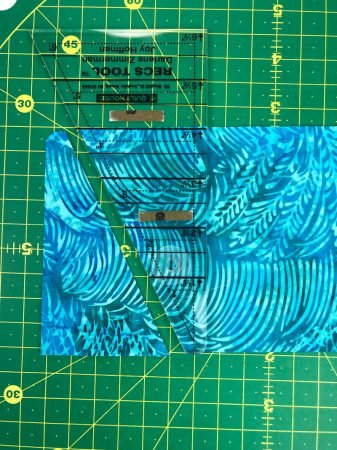
If you layer the strips in half, wrong sides together, you will get 2 triangles each time you cut.
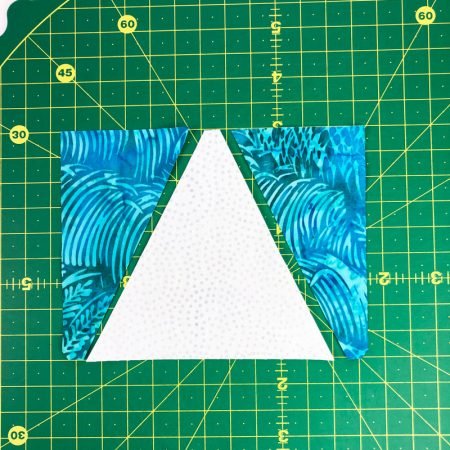
Be sure to cut out the little angled edge on Peaky since that helps to line up the triangles when you go to sew!
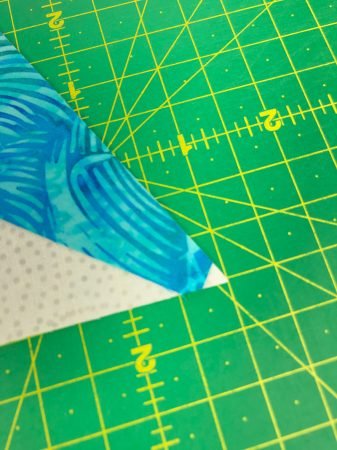
Sewing the Unit
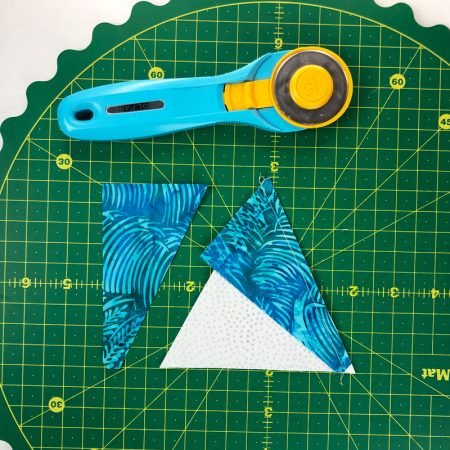
After you sew the first peaky triangle to spike,I like to press to Peaky even when it is the lighter of the 2 fabrics; it seems to lay flatter for me but some quilters like to press these seams open.
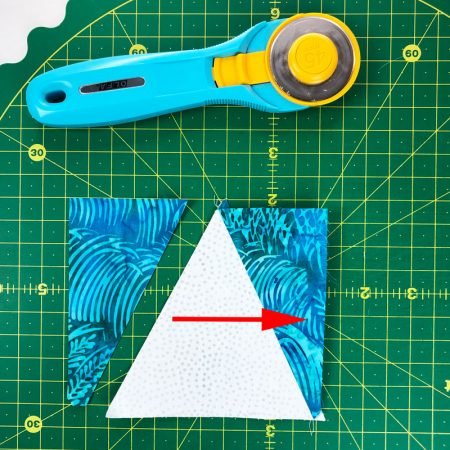
Then once you add the other peaky triangle, press and then you can trim away those little points in the lower corners.
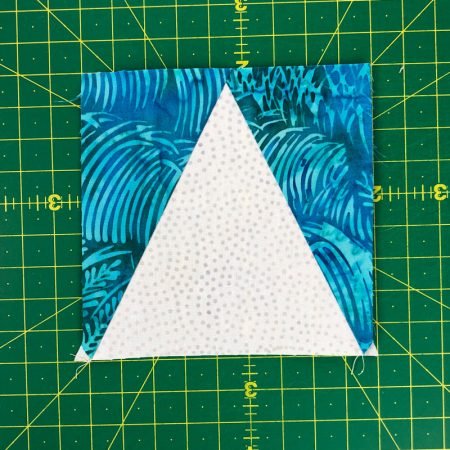
Popular blocks using Peaky and Spike
Now that you have your Peaky and Spike block unit, here are a few popular blocks that would use it. How about a simple star?
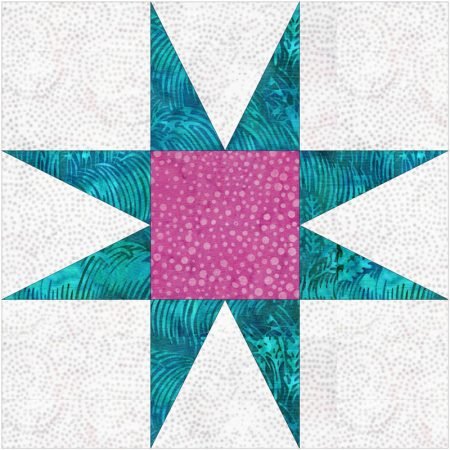
Here is the 54, 40 or Fight block.
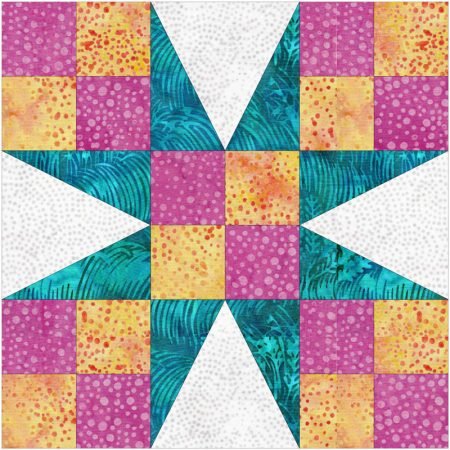
And here is a quilt called Summer Heat, that I made a while back for Quiltmaker’s Quilts from 100 Blocks magazine based on a variation of that block.
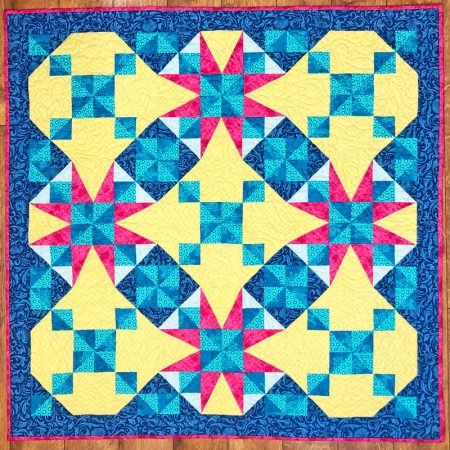
Wild colors, huh?
Tammy will be showing how to use the Deb Tucker VBlock tool to make the Peaky and Spike unit so click here to check that out!
Next week, in the A Quilter’s Alphabet series, Tammy and I are up to the letter H!
See you then!
Happy Holidays and happy quilting!
Kate
2 comments