Welcome to our series Exploring Quilting Basics! We left off with a look at the stitch and flip quilt technique. Next time, we’ll be exploring the diamond in a rectangle quilt block. For an overview of the series, you can check out all of the posts here.
Hi Friends!
Today as part of the Exploring the Basics series, Tammy and I are chatting about the Square in a Square unit!
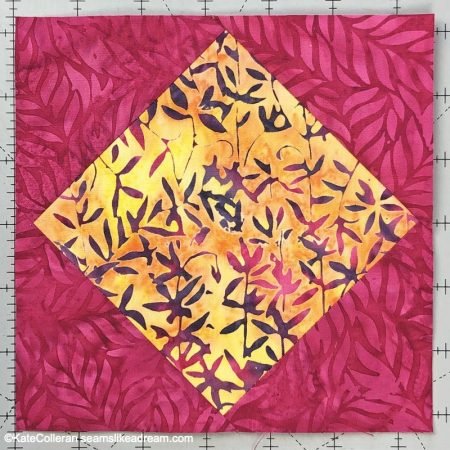
The Unit
Many people feel this unit could also be called the diamond in a square! The center does look a little bit more like a diamond but…
We used this unit in the center of one of our blocks in the quilt Luminous!
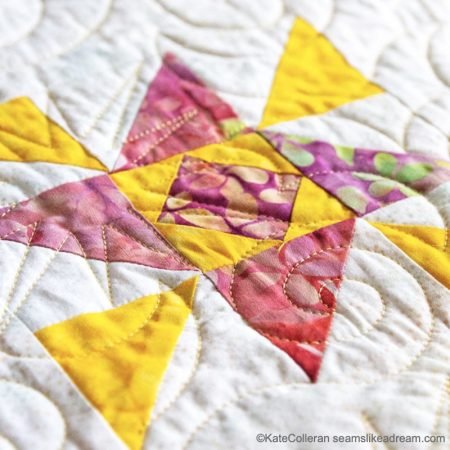
Whatever you call it, there are a few different ways you can construct this unit so I thought I would share 3 different ways to put it together.
Square in a Square Piecing Method 1
The first method is probably the most accurate- paper piece the block!
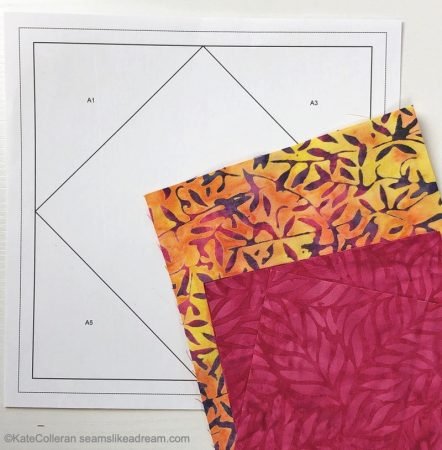
Of course if you are not a paper piecing fan, then this might not be your go-to method. If you are interested in in paper piecing tips, check out this post!
Piecing Method 2
Cutting squares and triangles. For this method you will need a center of the block and 2 squares for the corner triangles.
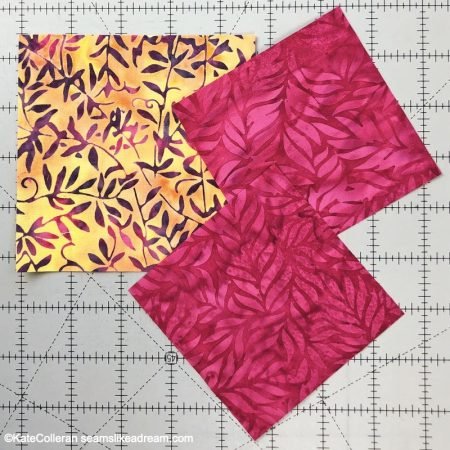
First we need to talk quilt math!
Here is the formula for this method:
For the center square – finished block size ➗1.414 = X + ½” = size to cut center square.
My block will finish at 6″ so the math looks like this: 6″ ➗ 1.414 = 4.24 + 0.5 = 4.74 or 4 ¾”.
For the outer triangles – finished block size ➗ 2 = X + ⅞” = size to cut squares.
For my block: 6″ ➗ 2 = 3″ + ⅞” = 3 ⅞”. Cut 2 of these and then cut them in half on the diagonal for 4 triangles.
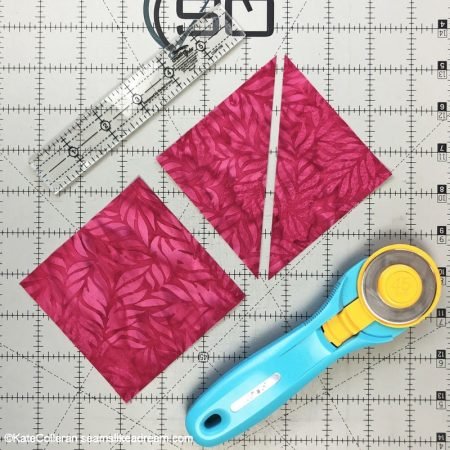
Sewing Method 2
When sewing the triangles to the center square, start by sewing the first 2 to 2 opposite sides. You want to be sure to center the triangles on the sides of the center square.
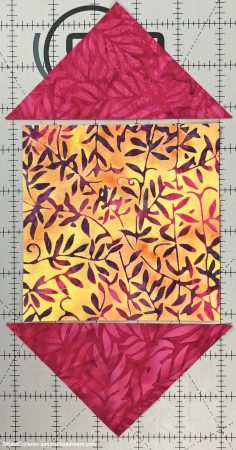
After you sew the triangles, press the triangles back.
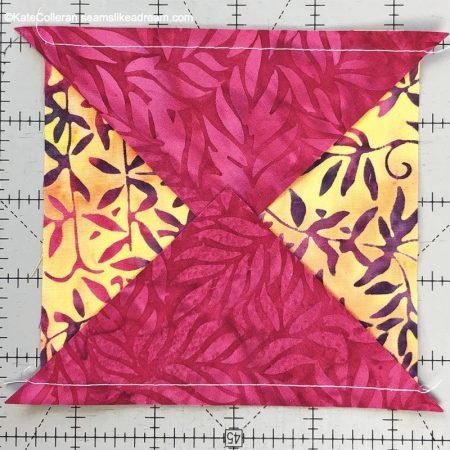
And then sew the triangles to the other 2 sides.
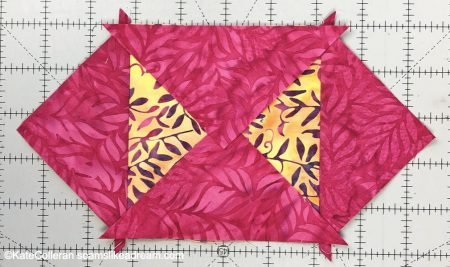
Press the triangles and then trim your dog ears. (Don’t know that term? Check out this post!)

Ta- done!
Now due to working with bias edges and having to be sure things are lined up correctly, some quilters find this method can get wonky! One way to combat that is by oversizing the squares for the triangles and then trimming the block to size. (Don’t oversize the center square!)
Piecing Method 3
This method is the stitch and flip method we talked about in out last post. What’s nice about this method is you don’t need to cut any triangles or worry about sewing any bias. But there can be a bit of wasted fabric.

The math:
Center square- cut the center the finished size of the block + ½”. You will need 1 square.
So for my block: 6″ x ½” = 6 ½” square.
Side triangles- cut the side triangle the finished size of the block ➗ 2 = X + ½”. You will need 4 of these.
For my block: 6″ ➗ 2 = 3″ + ½” = 3 ½”.
Sewing Method 3
This method is just stitch and flip. Star by drawing a diagonal line, corner to corner, on the wrong side of the smaller triangles.
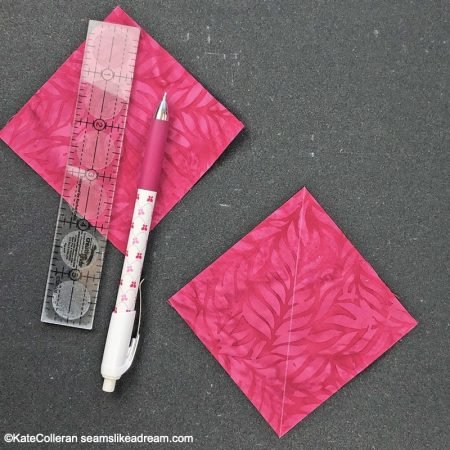
Place 2 squares on 2 opposite corners first, sew on the lines and trim the seam allowance.
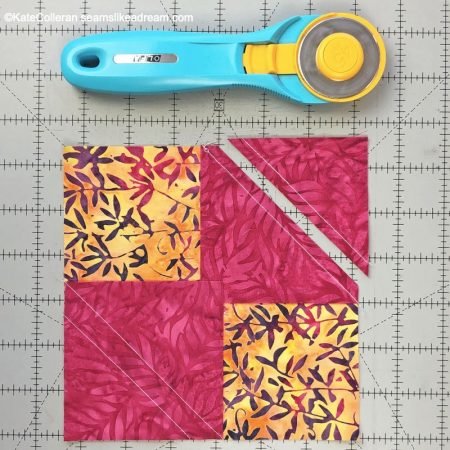
Then repeat on the other 2 corners.
To minimize the waste, I like to draw lines from the corner to corner to sew on and a second set of lines ½” away. That way, if I sew on both sets of lines, I get these great leftover HSTs!
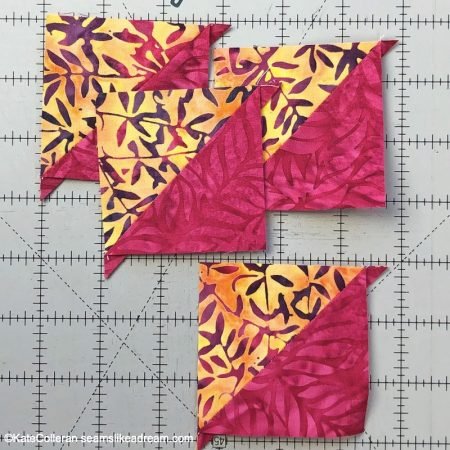
No waste now!
Bonus Block
The Economy block is another popular block that is basically a square in a square in a square!
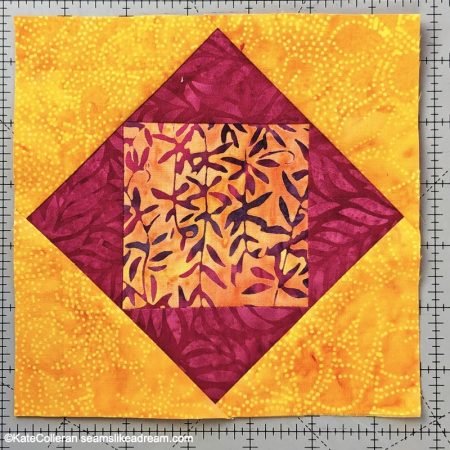
The construction is similar- you are just adding the triangles twice. Here is the math for this block.
Center square – finished size of the block ➗ 2 = X + ½”.
Mine: 6″ ➗ 2 = 3″ + ½” = 3 ½”.
Inside triangles – finished size of the block ➗ 2 = X + 1 ¼”. You will need 1 square and you will cut it in half on the diagonal x 2 for 4 triangles.
Mine: 6″ ➗ 2 = 3″ +1 ¼” = 4 ¼”
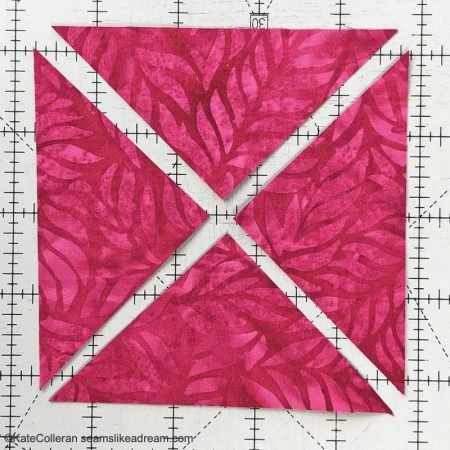
Outside triangles – finished block size ➗ 2 = X + ⅞”. You will need 2 of these, cut in half on the diagonal x 1 for 4 triangles.
Mine: 6″ ➗ 2 = 3″ + ⅞” = 3 ⅞”
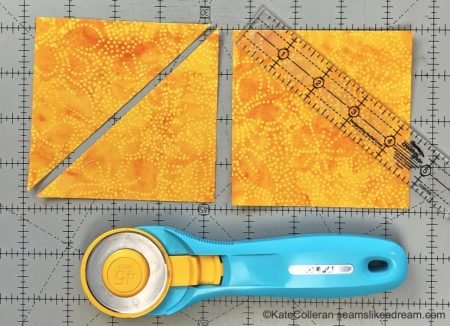
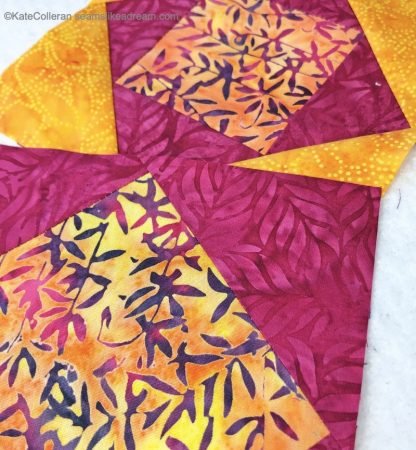
First, sew the insides triangle to the center. The inside unit should measure the same as the center in method 2.
Add the outside triangles and you are done!
So…..You have lots of options for making these units and both can add interest to a quilt block!
What is your favorite method of making these? Let me know in the comments.
Click here to check out Tammy’s post and see her great tips for making the unit!
Next week as part of The Quilter’s Alphabet series, we will be defining terms that start with the letter E.
happy quilting!
Kate
Kate, HELP . I want to make a 6″ finished economy block with just one round of triangles.
However I cannot find any info on making this block. I’m self taught don’t know
anyone who quilts and cannot work it out. Appreciate your help.
I’m doing your 2024 November Mystery Quilt Along. Clue #1 just dropped Nov. 1st. 6 Fabrics! eee.
LOL, anyway, as I am finally retired, I felt it was time to finally Do a Mystery Quilt Along. Being somewhat anal retentive, I had to do an Affinity Diagram to determine which fabric was the “Main” fabric based on the clues you provided on October 25th. Additionally, I had been fabric shopping too much, so, quilt along provides an opportunity to utilize my over stock! Definitely going to use Method #3 so I have bonus HSTS (and no waste)!
Thank you so much for doing the math! I can do an affinity diagram, but math…not so much!
Cathy,
I’m glad you are doing the Mystery QAL. I like the No waste of saving the HST units too. I have a little jar of many HSTs.. someday I will start sewing them together!
Thanks for being here!
Love this. With CFIDS. CHRONIC FATIGUE IMMUNE DEFEIENCY SYMDROME, I TEND TO DO EASIER QUILT PATTERNS. LOVE YOUR SITE. I MAY DO THE EASIER PATTERNS BUT STILL ARE BEAUTIFUL.
Thank you!