Hi friends!
Today I wanted to chat about lap quilts and what size makes a lap quilt.
Do you make lap quilts? Bed quilts?
What is your favorite size quilt to make?
Lap Quilts
I make a lot of lap quilts first, because it is usually one of the sizes in my patterns and second, it’s a good size quilt to be in a booth at a quilt show. Larger bed quilts are just too big; too big to hang, too much to handle and too big to ship!
But what size is a lap quilt?
I think if you asked 10 quilters what size is a lap quilt, you would get 10 answers! For me, when I design quilts, the lap quilt is whatever size works with the blocks I am making!
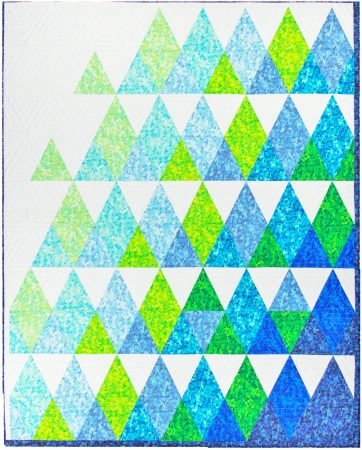
OK- so that is Not a good answer! But somewhere around 60-70″ x 70-80″. I like big lap quilts so you wont’ usually find my lap quilts under 58″ wide or under 66″ long. Hubby is very tall so if he wants a quilt, it needs to be long!
What is your favorite size for a lap quilt?
Quilt Retreat
If you are on my newsletter list, then you know that last week I went to a virtual quilt retreat. That meant, I got to sew and visit with other quilters without ever leaving my own little swing room!
I had all my tools nearby, all my fabric nearby… all my pets nearby…
The retreat was sponsored by my local quilt guild and the organizers did a really great job. they had open sew time, a virtual visit to a quilt shop and projects that we could decide to make or not!
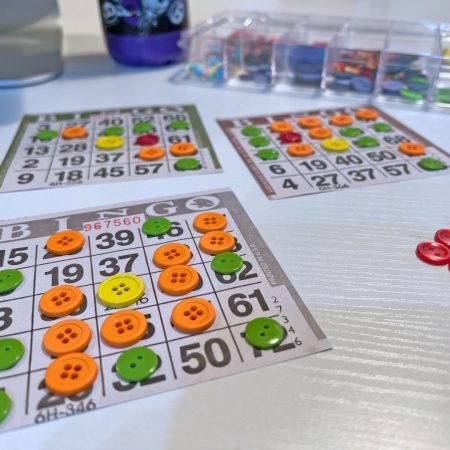
We even played Bingo one night for prizes! I knew my colorful button collection would come in handy!
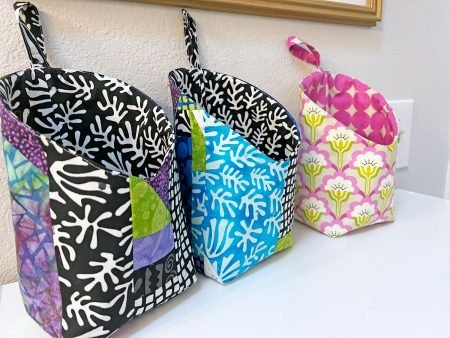
The one project I really liked was this cute little storage pouch. It is a free pattern – click here – and I ended up making 3 of them!
For one of them I used 2 of my FQs – I have quite the collection! and for the other 2 I made some crumb quilt blocks and then used them to cut out the pouch!
Aren’t they darling? And fun to make!
Want to know more about crumb quilting? Click here to read my blog post on it!
UFOs
One of my goals for the retreat was to work on my UFOs. I actually put together one quilt top- a really large quilt top that is NOT a lap quilt- and started putting blocks together for another.

I had made 30 pink and white blocks back in October 2020 using patterns from the Moda Stitch Pink event. Well, sort of pink and white, there is also purple, and salmon, maybe some coral, hot pink….
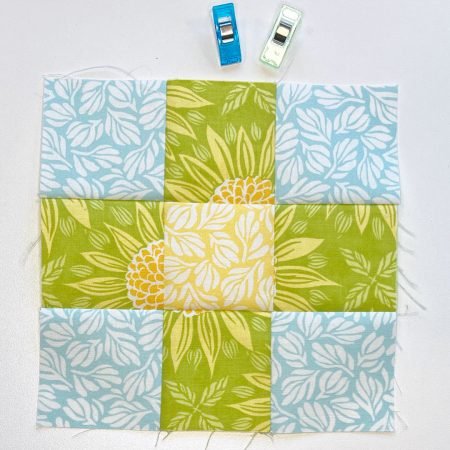
One thing I realized from doing my 100 day project (if you don’t know about that, click here), is that if I just have the blocks ready to piece, it is easy to find the time each day to make one block.
So for my second UFO quilt that I started at retreat, I am going to make 1 block every day when I make my nine patch block for my 100 day project.
The UFO quilt blocks are from a Tula Pink 100 day challenge.
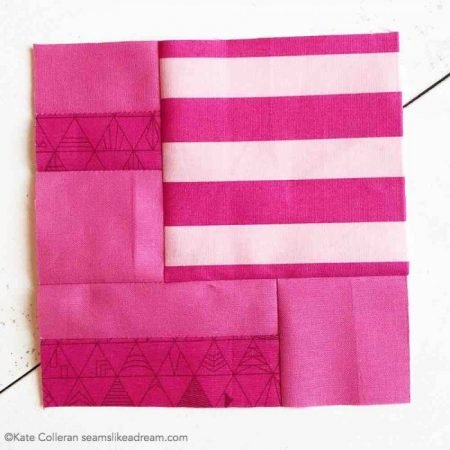
The center of the blocks are done; I just need to add their borders and then sew them into rows.
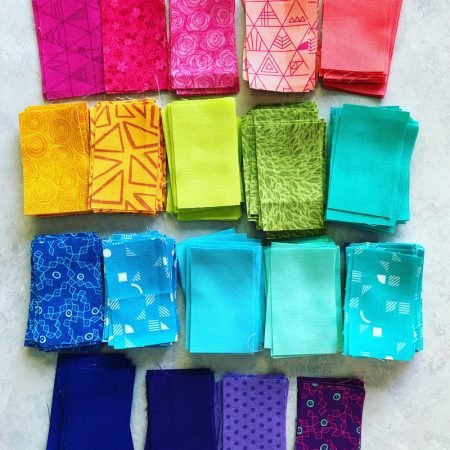
And pretty soon, I will have a second quilt top!
Then I will need binding and backing but I will think about that tomorrow (said in my best Scarlett O’Hara voice!)
happy quilting!
Kate
p.s If you have not signed up for my newsletter, you get a free quilt pattern when you sign up – the quilt is in 2 sizes- a small lap and a lap quilt.
I am wanting to design a lap quilt with a panel and want to put flying geese as the/a border. How do I figure dimensions of the panel and then the flying geese so it looks right?
Jane,
There is no standard for the size of the borders on a quilt. And a frame of FG units around a panel would be an interior border.
Some people say the border should be 1/3 of the finished block size so if the panel is 24″ wide x 42″ that might mean the border should be 8″ wide.
But that seems very large to me! I would think 4″ might be better? It really depends on the look you like!
Flying geese units are usually 2 x wide as they are tall- so they might be 2″ x 4″ or 3″ x 6″ or 4″ x 8″ (finished).
And if your panel is not a standard size so things fit nicely, you can use what is often referred to as coping strips but you can think of it as a small inner border between the panel and the flying geese. It is usually a color the blends in with the panel or provides a nice accent.
Use the strips to make your panel a size that easily divides by the size FG you want to use. The top and bottom strips don’t have to be the same width as the sides; the idea is to create a size that will then work for the FG units.