Hi friends!
Before I show you my project for this month- have you seen the Island Batik Week posts on Aurifil Thread’s blog? They are showcasing a new IB fabric line each day with a post from the designer AND each post has awesome giveaways!
Click here to go to my friend Jackie Kunkel’s post to see her new line and enter that giveaway and then keep going to see all of the posts!
This is my quilt Stroll that I made using Jackie’s fabrics back in the spring for Quilt Market.

And Jackie even quilted it for me- doesn’t it look amazing?

Today on the Aurifil blog is my friend Tammy Silvers so click here to see her post and enter her giveaway!
OK- now onto the August challenge!

This month the theme was Quilt As You Go. I made many quilts using that method back when I first started quilting and was in a quilt group. Each month we made a block for someone’s quilt, quilted it and brought it to the next meeting. At the meeting we sewed all the blocks together, trimmed and whip stitched the batting together and folded over the backing and hand sewed it closed.
So, I had a vague idea of one way to do this. But that method started with blocks. And I was going to use up some scraps- mostly squares- so… that method was not going to work. The project was supposed to be at least 36″ so I started with a backing slightly larger than that. I would see at the end if it would be a square or a rectangle; it depended on how many squares I had and what happened. A little quilt as you go, a little improv…

I pressed and pinned some batting to the backing. Yes, I could have used one of the sprays to adhere the batting but I did not have any spray and I don’t have a large space that is well ventilated to do it that way.
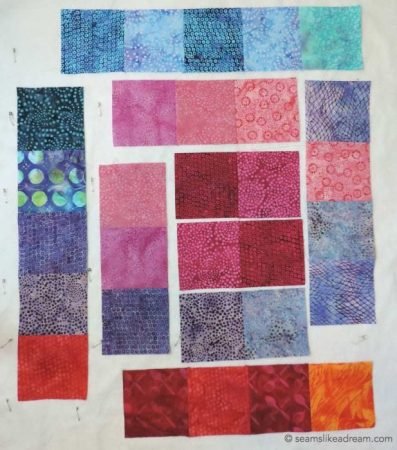
I laid out the squares and debated a design. Once I had that, I had to plan the sewing. Then, once I knew what was going where, I sewed some of the sections together.
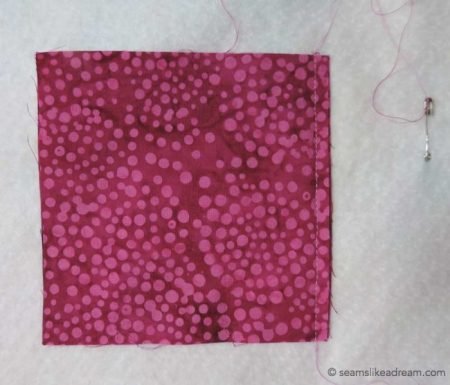
Then I put on the walking foot, und the center of the quilt laid out my first 2 squares and sewed them together right on top of the batting and the backing. I used a pink variegated Aurifil thread since you would see this on the back of the quilt.

I pulled the ends of the thread up to the top of the quilt so that I did not have any loose thread on the backing to deal with.

Then I added the next section that was already pieced.

And I just moved around the growing quilt top, adding sections. The tricky part to this process was that my walking foot did not have a mark for a ¼” seam allowance. So I had to try to eyeball it. I did pretty well but was off a few times!

Once the top was done, I could have just bound it as the quilting was done. But I decided I wanted some quilting on the front as well so I used the wavy stitch on my machine and quilted straight wavy lines.

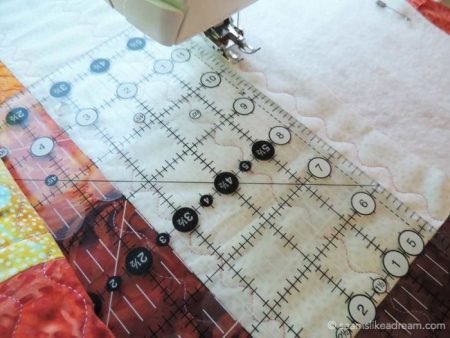
I used the edge of the foot against the seam allowance for some of the lines but I did not want to make marks for the center line. What to do?
The new thing in machine quilting is using rulers so I improvised and used my 6″ x 12″ ruler as a guide. It worked like a charm! I just lined up one of the lines on my ruler with the seam line and ta-da!

And here is my little Quilt as You Go quilt. I think it came out pretty cute! It will be great as a baby gift next time I need one.

And I like that I just used up squares and strips from my Island Batik stash to make it. No shopping involved! The binding is pieced leftover strips.
I hope you are inspired to just grab some leftover batiks and go for it! It was fun and easy to do in an afternoon.
happy quilting,
Kate
p.s. Don’t forget that the blog hop for Christa Watson’s new book is still going on. Click here for my post and the complete schedule.
I love the quilt I made for it! And be sure to comment on that post for chance to win an ecopy of Christa’s book.

I love this quilt. Still working on my project. I have never done quilt as you go, so I am learning. Thanks for sharing.