Hi friends!
Today in our Exploring the Basics post, Tammy and I are chatting about triangles. You know, not all triangles are created equal!
Quilting Triangles
As part of our series, we already went over half square triangles in this post …
and quarter square triangles in this post.
BUT, there are other triangles!
One of my first quilts that I made using triangles was for a magazine. I designed the quilt using EQ (Electric Quilt) and submitted my digital design idea.

They loved it and then I got to work making the quilt. Imagine my surprise when the final quilt was not the same size as the one I designed in EQ! What happened?
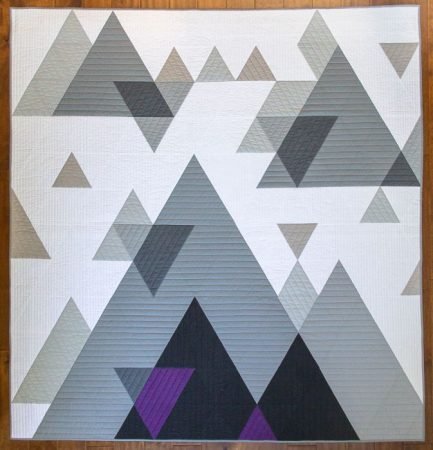
Well, instead of using a triangle ruler that matched the angle of the quilt I designed in EQ, I used a different ruler with a different angle. Oops!

So my quilt, while it was the right length, was not the same width as what I had told them it would be.
Triangle Angles!
Look at this image- these are 3 triangles, all 6 ½” tall but with different angles.

The skinniest one has a 45 degree angle, the widest one is the 60 degree and the one in between is the angle for the Tri Recs rulers (and the Creative Grids Triangle Squared).
It is so important to know which angle you are going to work with!
Once you have the right ruler, a quilt made from triangles is actually pretty fun to put together! I was a little worried at first because … well… there are those bias edges to worry about. But using a light hand and pins, it all works out great!
Patterns using Quilting Triangles
I have since created a few triangle quilts- 2 were in magazines and 2 that I put out as patterns.
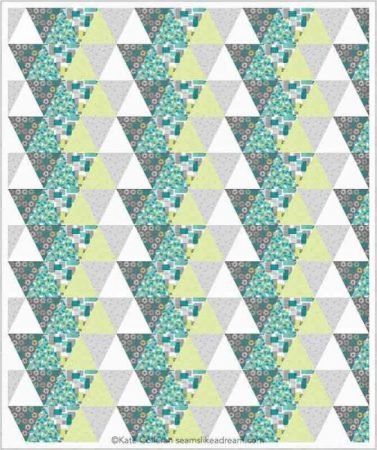
One of my triangle quilts is Tribeca.
The other is Foothills.
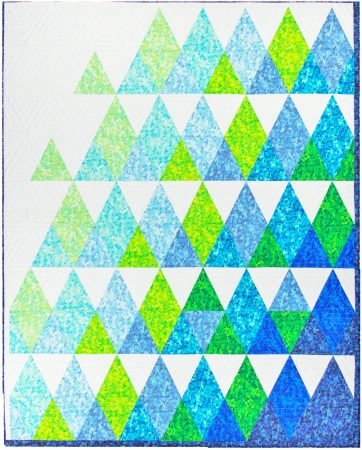
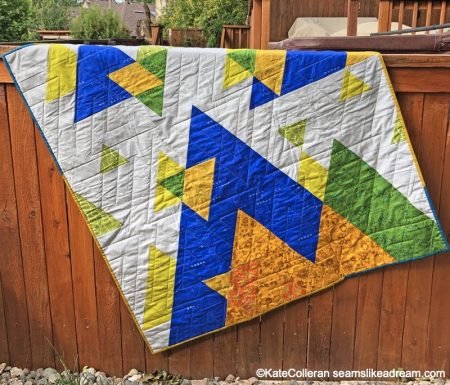
And, available right now as a preorder and coming put in about 4 weeks is Peakview! This quilt was originally in Modern Patchwork as Mountain Joy and I am putting it out as a pattern with multiple sizes. While it is on preorder- the pattern is on sale! Click here to check it out!
Tips for Piecing Triangles
Here are a few tips for piecing quilts with triangles.
If you are using a template or ruler, make sure it is the right one for your quilt! I guess I learned that the hard way!
Second, when you lay the triangles together, handle the edges gently- you can pull on those bias edges and stretch those triangles out of shape. If you like, you could use a little spray starch.
Line up the triangles so all the points match up. If you used one of the rulers, one point will have a straight edge. I always use that edge as my “top” point of the triangle.
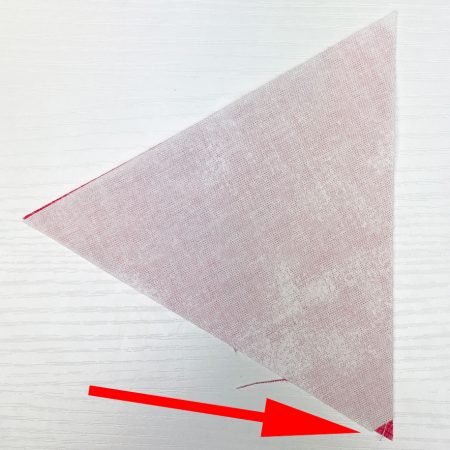
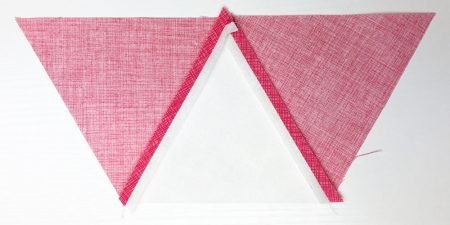
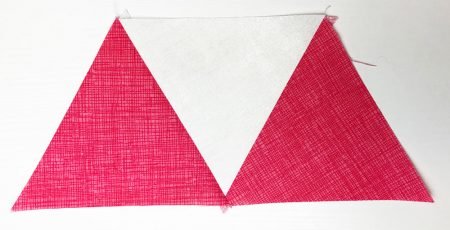
Sometimes the “top” of the triangle is pointing up and sometimes it is pointing down.
Note about the triangle flat top.
If you always use the flat edge as the top of the triangle, then once sewn, the triangles will always have the straight of grain going from the top to bottom of the triangle. This will help your rows to lay flat.
Sew a ¼” seam and then press the seam before sewing the next triangle to the row. You can press the seam to one side or you can press them open. Pressing them open reduces bulk and can be helpful but press the way that works best for you and press the same way across the row. If you do press the seams open, remember to reduce your stitch length!
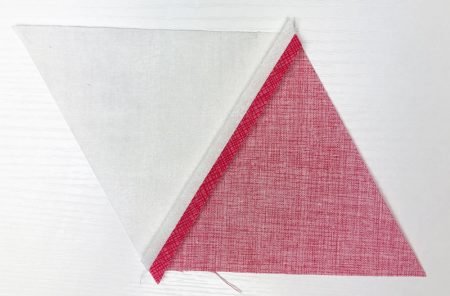
Then add the next triangle. If you use a template and put the cropped point at the top, it will line up straight across the top edge.
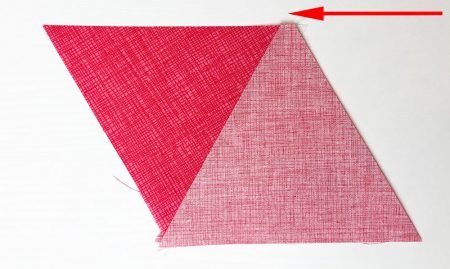
If you used full triangles, you will see that the triangle on top will extend past the top. That little notch it creates is your ¼” mark!
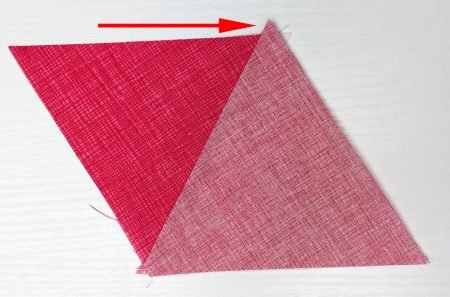
Either way, sew that seam, press and repeat to keep adding triangles all the way across the row.
Always remember to press after each triangle is added!
What are your best tips for piecing triangles?? We would all love it if you shared in the comments.
Tammy will be chatting about quilting triangles and those great Studio 180 tools! Click here to go to her post.
Next week in our A Quilter’s Alphabet series, Tammy and I are up to the letter S!
happy quilting!
Kate
P.S.
There is still time to sign up for the Virtual Vermont Quilt Festival! I am teaching 2 classes and doing 1 lecture! Come play- we will have SEW MUCH FUN!

Click here for more information!
Peakview pattern reminds me of the quilt I made for my daughter. All large hst in a queen quilt with 4 colors without a pattern! Wow, I wish that I had your pattern when making it.
This pattern looks like so much fun!