Welcome to our series exploring quilting basics! We left off with a look at precuts. Next time, we’ll be exploring the anatomy of a pattern. For an overview of the series, you can check out all of the posts here.
Hi friends!
Today’s post in the Exploring the Basics series is a subject near and dear to me- using your stash!
I even have a lecture I give at guilds called “How to Smash Your Stash”! And yes, I borrowed some of the title from the title of my book.
Building a stash is something that often happens as one quilts.
Maybe it grows because we bought more fabric than the quilt pattern called for, just in case we make an oops!, and so we have some left.
Or we just have fabric leftover from a project.
Or we impulse buy fabric that is just so pretty… we may not have a plan for it yet but someday we will use it!
However it happens, a stash is often an outcome of making quilts! As your stash grows, it can get overwhelming. So how do you organize your stash, use your stash and reduce the overwhelm so you can move onto the next quilt?
Stash Management
Let’s start with the impulse buy fabric. When you buy fabric that you have no plan for, where does it go?
Does it hang out in the bag, underneath the bed to disguise the scope and breadth of your stash?
Does it get put on a random shelf or is it stored tin a specific fabric bin?
Step 1 to good stash management is to have a plan to store the stash. I have my fabrics stored in a few different ways. Last year as part of the Creative Spaces Blog Hop, in week 4 we all posted about fabric storage. Click here for that post and to see some pictures of how I store my fabric.
My system may be similar to yours or it may be very different, but I think the real key is to have a system and then to follow the system. Hmmm… Light bulb moment! I HAVE a system, but I don’t always follow it. Maybe that is why my stash can get out of control and overwhelming!
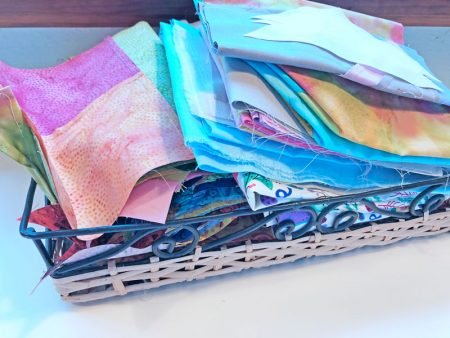
Big pile of leftover fabric just stuffed in a basket.
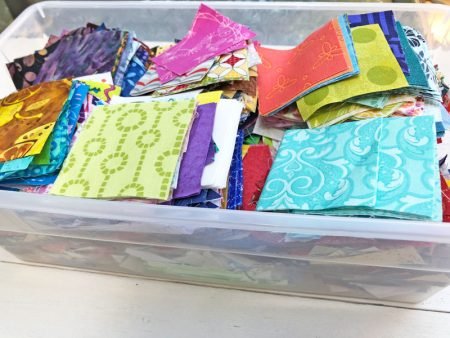
Step 2 is to have some ideas on how to use your stash. One great way is to cut the stash up into sizes that you use frequently. Both Joan Ford, in her Scrap Therapy books, and Bonnie Hunter have a system and specific piece sizes that they routinely use and so they cut their stash into those sizes so they have fabric pieces ready to go for their next scrappy quilt! Click here for a link to Bonnie’s blog post about her system.
Bin of 2 ½” squares
For me, since I am a huge lover of precuts, I cut some of my stash into precut sizes: 2 ½” strips and squares, 5″ squares… and since I make a lot of braids, I cut strips 1 ½”, 2″, 2 ½” and 3″ for use in projects with braids. The larger leftover pieces get stored by color until I know how I might want to use them.
Step 3 (though I am sure you can come up with many more steps if you need to), is to ….
wait for it…..
Use Your Stash!
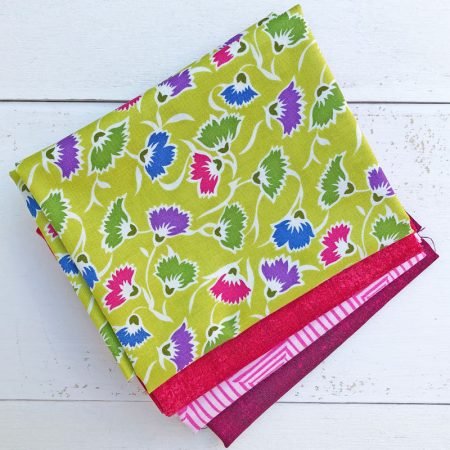
How? You can use patterns you have and substitute fabrics from your stash. I love using patterns that suggest using a precut and then just cut up my stash to fit the size needed. It makes the pattern interesting as it adds an even more scrappy look to the quilt.
A great example is my pattern, Meander. This quilt is just perfect for leftover bits of fabric.
Meander in Front Yard fabrics
While the version above uses a line of fabrics, you can see how something like this pattern would be a great scrappy quilt!
Or maybe you have a pattern that has star blocks and it calls for a red fabric for the star points. Instead of one red fabric, use a lot of reds from your stash!
So you can use a scrappy quilt pattern, a precut pattern or any pattern and where it calls for one color and substitute many fabrics in that color.
If you are hesitant about mixing fabrics for a scrappy quilt, here are 3 things that might help you plan a successful scrappy quilt.
If you want to add in anyone all fabrics from your stash, then one way to add cohesion is with a one element that always stays the same- for example the sashing is is all one fabric, or all the lights are scrappy but the darks are one color or fabric (or vice versa).
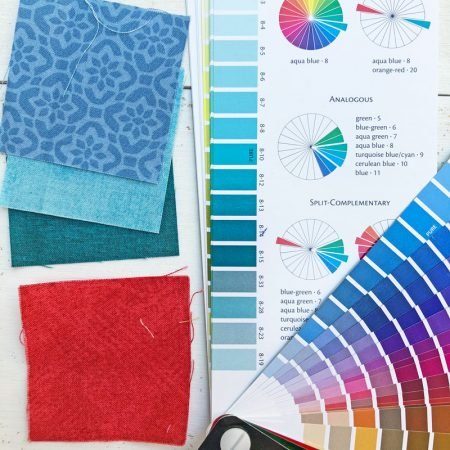
Another way is to control the color palette- you could maybe pick 2 colors – uh oh, are we back to color theory? Using a more controlled palette can reduce the stress of what colors to mix with what other colors! Click here for the blog post on color.Picking a color scheme
If you don’t have a color well, don’t forget the Color Theory by Canva tool. Let’s say you find you have a lot of green in your stash of scraps- click here to go to Canva and use their Color Theory by Canva tool to find the best color to mix with your greens!
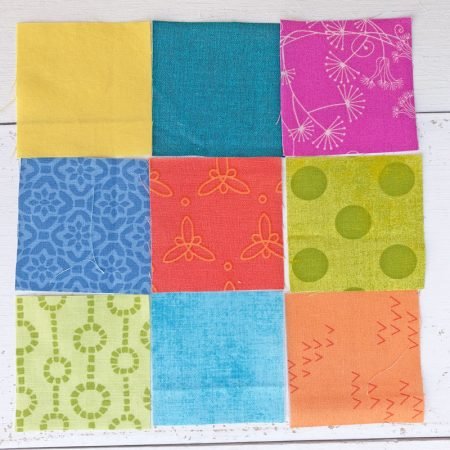
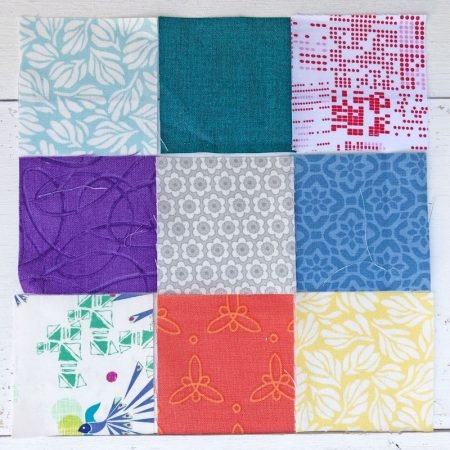
And remember value- don’t only consider color when arranging your scraps. Value is a great way to make a block work and sometimes when our blocks look like a big mish mash, we blame color when we forgot to vary the value. Below are 2 nine patch blocks. One is just squares of a similar value and one has value change. Both are fine but keep in mind the look you want or what is best for the block.
Scrappy Nine PatchScrappy Nine Patch with Value change
Have fun using up your stash and let me know your great suggestions for storing, managing and using your stash! I am always looking for new ideas.