Hi friends!
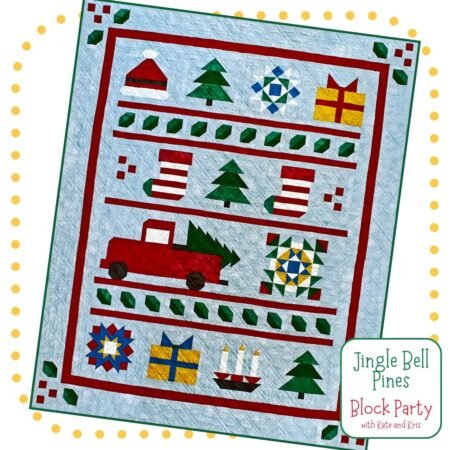
This week we are chatting about Block 5 Jingle Socks in the ongoing Jingle Bell Pines BOM Block Party!!
Woot ! Woot! Cue the holiday music!
If you are new to the party, Kris Poor and I have been sharing tips about the blocks in our new block of the month quilt pattern Jingle Bell Pines! Click here to see the introduction post.
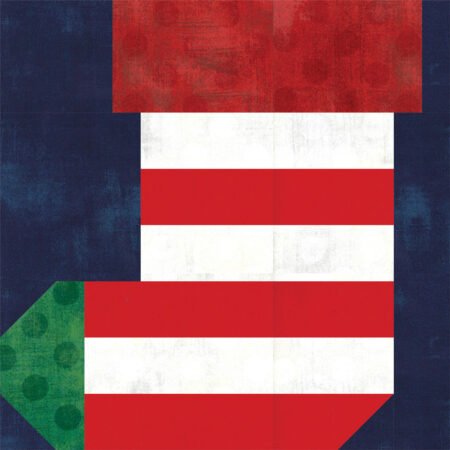
Block 5 Jingle Socks
This week’s block is a fun one! Christmas stockings are such an iconic holiday motif. And these are pretty easy blocks to sew.

And yes, you will make 2 of them!
Other Colorations
First, let’s see what the blocks look like with our different backgrounds.
Here is the block with a khaki background.

And here it is with the navy background.
Tip for Block 5 Jingle Socks – pressing!
This is a pretty simple block – you will sew a bunch of strips together and then do a little stitch ‘n flip. So our tip this week is all about pressing to keep a straight strip set straight!
We all know it is pretty easy to stretch or press a block out of shape.
First, let’s chat about using steam. I don’t use steam 95% of the time in my sewing. I know- radical right? But actually it makes sense.
I don’t prewash my fabrics (uh oh- another mine field of a conversation!) as I am usually working on a tight deadline. So if I were to use steam, steam would get my fabrics wet and what happens when they get wet? They might stretch or shrink. (Which is why people prewash!)
So it only makes sense that if someone uses a lot of steam, that might contribute to the strip set being able to easily be stretched out of shape.
To start pressing, first press the seam flat to set the seam. Why do we do this?
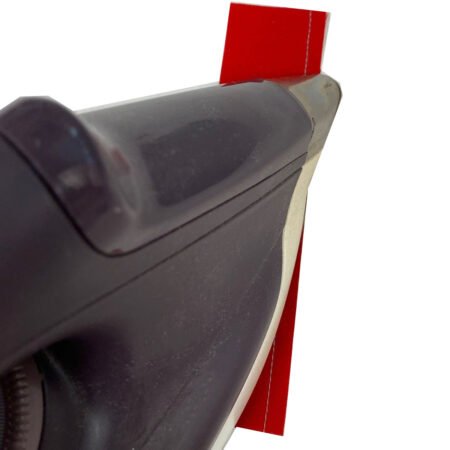
If you look very carefully at your seam before pressing, it can sometimes look a little bit puckered. Not a lot, just a bit. That is just from the process of sewing. Pressing the seam flat relaxes the stitches.
Then press the seam in the desired direction using a straight motion – try not to press a curve into your seam! You might be thinking, I don’t do that! But it is pretty easy to do as we all have a tendency to press harder one way or another- it might be you trend a little to the left because you press with your right… that’s what I do.
Do you like to press from the wrong side of the right side of the fabrics?
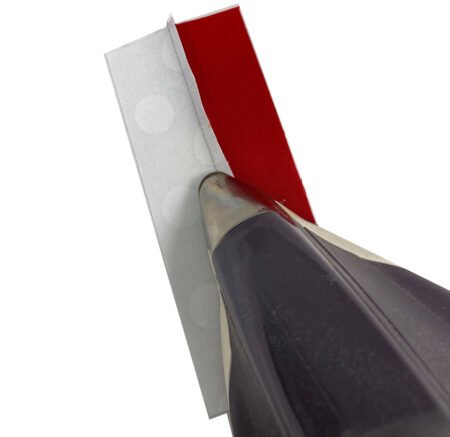
I tend to press from the right side most of the time as that way I (hopefully!) won’t press a crease in the seam. But if you like to start on the wrong side, turn the piece over and press again on the right side.
This lets you check the seams and gives it a nice crips second press!
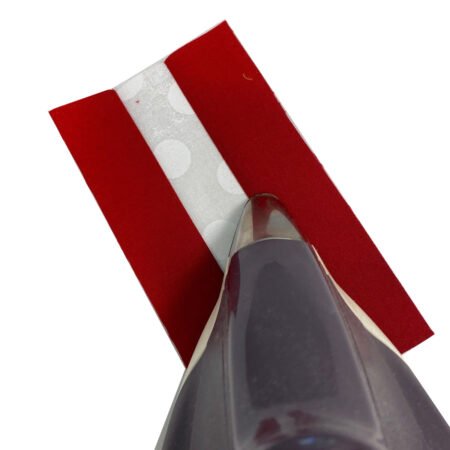
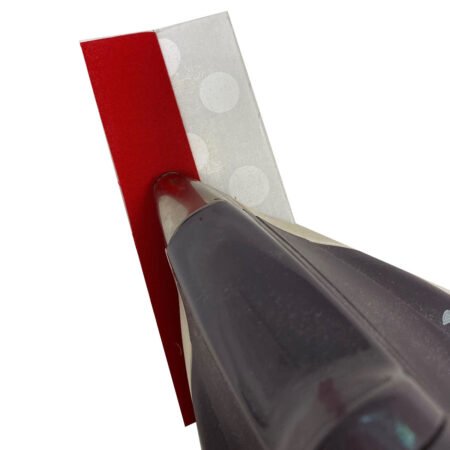
Using a Clapper
Another way to help set a sea is to use a clapper. A clapper is a wooden pressing tool that has recently started to come back into popularity. You can find them on different sites. Some are like mine are a rounded rectangle.
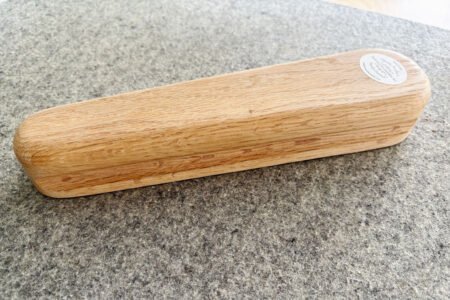
There are others that are square – perfect for pressing your block into shape!
How does it work? It works by absorbing the heat and moisture from the fabric after pressing, which then helps to create flat seams. So press and then lay the clapper on top of the seam and let it do the work!
Be sure to check out Kris’ posts – I think she has a lot of helpful images for you.
Have fun and next week we will work on Block 6!
happy quilting,
Kate
Please note: we are not sharing any cutting information or sizes; you must have the pattern to make the block.
Looking for all the Block Party Posts? Links to all the posts below!
Post 1 – Santa’s Hat
Post 2 – Tannenbaum
Post 3 – Winter Star
Post 4 – Gifts Galore
Post 6 – Tree Farm Truck
Post 7 – Rose Star
Post 8 – Tree topper
Post 9 – Holiday Lights
Post 10 – Setting