Hi friends!!!
Wow. We are already up to Block 7 Rose Star in the Jingle Bell Pines block Party!!
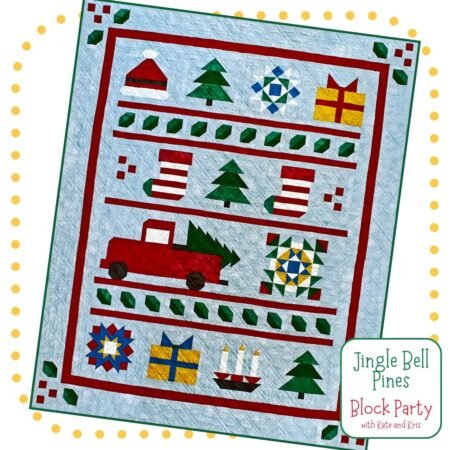
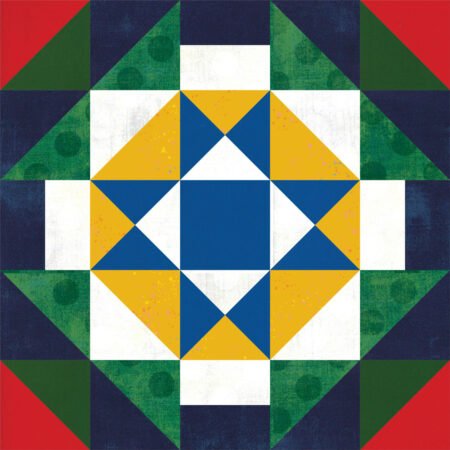
Block 7 Rose Star
Block 7 is a lovely star block whose outer corner units reminded Kris and I of rosebuds. Hence the name.
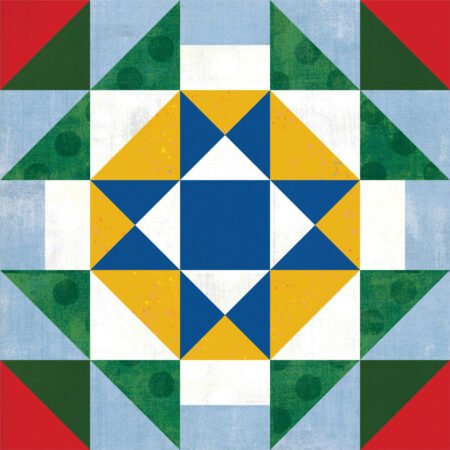
This block has units we have already discussed in previous blocks; QST (quarter square triangles) and HST (half square triangles). But there is one thing we haven’t covered; swirling the seams when you press.
You may be thinking, didn’t we talk about pressing in block 5? Yes, good memory, but not about this pressing technique!
Swirling the Seams or Rotate Pressing
I have discussed this technique before on the blog and here is a link to a more in depth tutorial but here I want to cover quickly what it is and why I like it!
If you press your seams open, part of the reason to do so is they lay very flat. that is because you have spread out the seam allowances.
If you are someone who likes to press to one side, when you swirl the seams, you get the effect of spreading out the bulk. Especially in the soft where all the seams come together.
Which makes that center section lay flatter.
It really is an easy technique once you get the hang of it! it works anywhere you have 4 units coming together – whether it is 4 units to make a block or a section of a block or 4 blocks coming together.
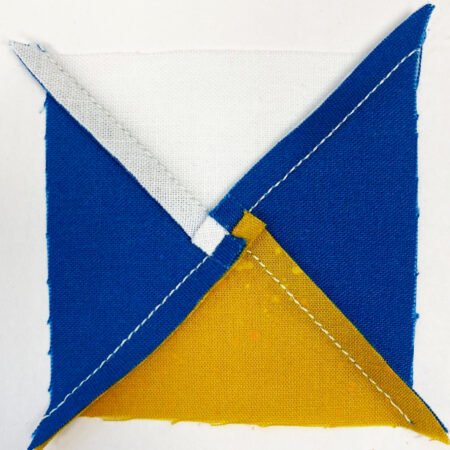
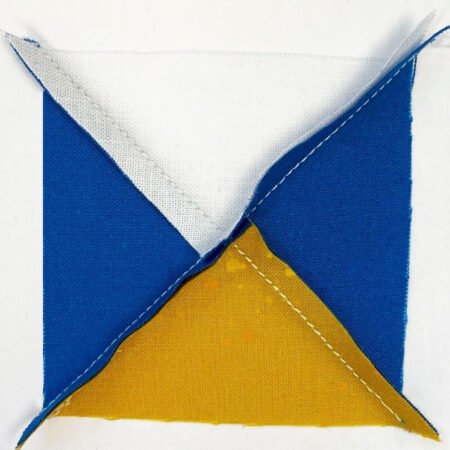
First, you press to seams of the 2 sections in opposite directions so when you sew them together, the seams nest.
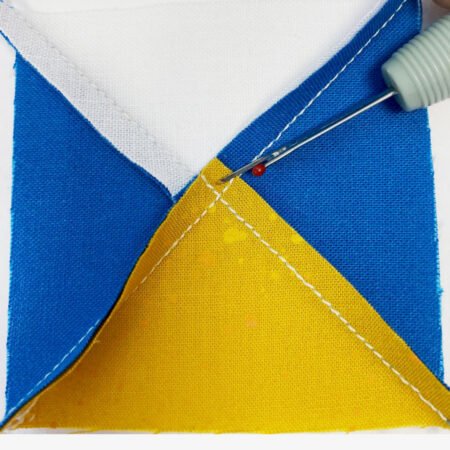
Next, you remove the couple of stitches in the seam allowance past the intersection – it could be 2 stitches, it could be 3 stitches. It depends on your stitch length.
How to remove them? You can use your seam ripper to pick them out but, if you don’t have a big bobble of thread at the start of your seam, you can just hold the fabric and give it a twist to pull them apart.
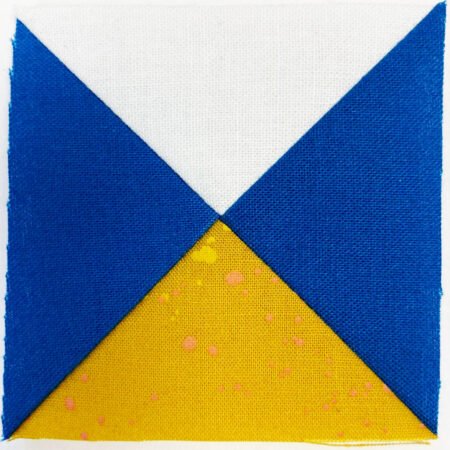
Then press from the wrong side, pressing the 2 seams in opposing directions.
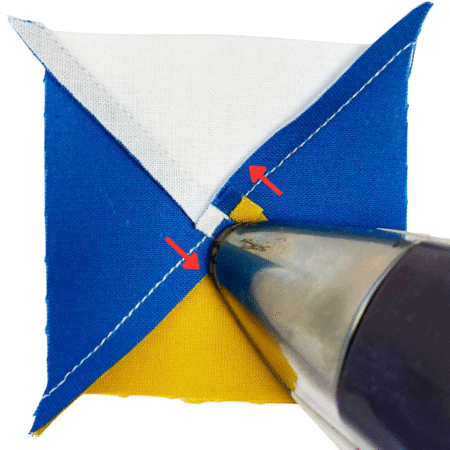
Ta-done! give a final press on the right side to assure that the seams are flat and you have a nice flat center to your unit!
Other Colorations
Here is Block 7 Rose Star with a khaki background.
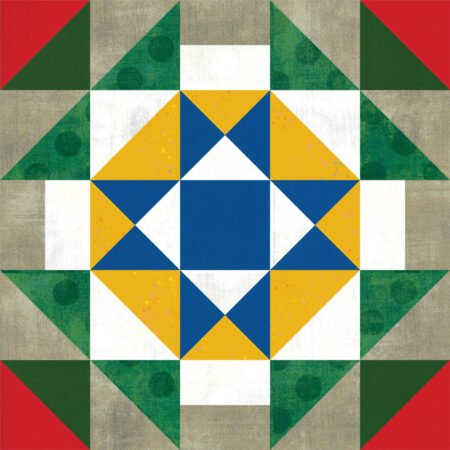
And here is the block with a navy background. Another good looking block!
Be sure to check out Kris’ posts – I think she has a lot of helpful images for you.
Have fun and next week we will work on Block 8!
happy quilting,
Kate
Please note: we are not sharing any cutting information or sizes; you must have the pattern to make the block.
Looking for all the Block Party Posts? Links to all the posts below!
Post 1 – Santa’s Hat
Post 2 – Tannenbaum
Post 3 – Winter Star
Post 4 – Gifts Galore
Post 5 – Jingle Socks
Post 6 – Tree Farm Truck
Post 8 – Tree topper
Post 9 – Holiday Lights
Post 10 – Setting