Hi Friends!
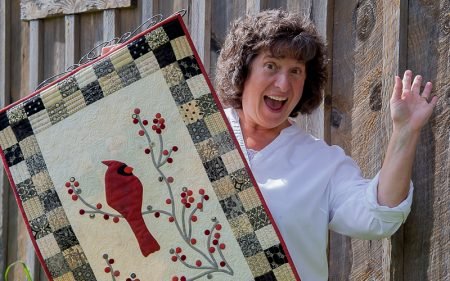
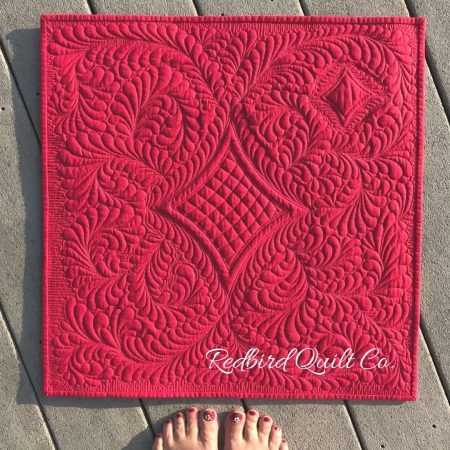
Today Tammy and I have something exciting to share with you- we have guest bloggers to show you how they would quilt the Luminous quilt along project! Say Hi to Karen of Redbird Quilt Co!
![]()
Luminous Quilting – Funky Lines & Feathers OH MY!
Greetings fellow quilters – I’m Karen L. Miller of Redbird Quilt Co and I’m completely thrilled to be sharing a few free motion quilting tips focused on that beauty of a quilt, Luminous, designed by the amazing Kate Colleran of Seams Like a Dream and Tammy Silvers of Tamarinis. Many thanks for inviting me to join the show ladies.
I love, love, love free motion quilting on my home machine and on any normal week you’ll find me running around the countryside teaching free motion basics, feathers, pebbles, McTavishing and more while sharing my love of Aurifil thread with the quilting community. Times are a little “different” right now – so I’m in the process of switching gears to share my love of FMQ online. If you’re interested in learning or improving your free motion skills I’d love to have you join my adventures. Follow me on Facebook or Instagram and be sure to subscribe to my newly established Newsletter. There’s always something fun going on in the free motion quilting world.
Like Tammy, I’m an Aurifil Designer and Aurifilosopher. I truly LOVE creating with Aurifil thread. The 270 luscious colors and 8 different weights of thread made from 100% Egyptian cotton is delightful to work with.
Thread is the primary player in piecing and completing a quilt – so I’ll share a few of my fav tips about thread use today. Tammy shares great information about thread and quilting designs in this “Basic” blog post -> Exploring the Basics: How to Choose Thread and Quilt Designs for your Quilt. Additionally, Kate shares her insight on the topic here -> How to Choose a Quilt Design for your next Quilting Project.
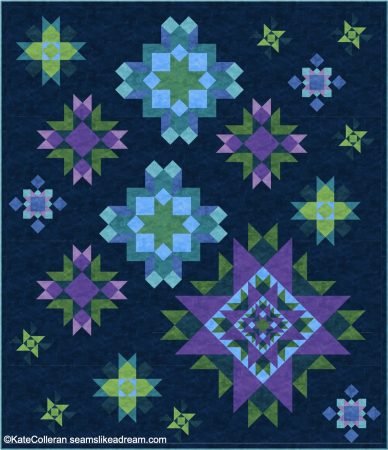
Let’s get talking Luminous… When I first saw what Tammy and Kate designed I fell completely in love!!
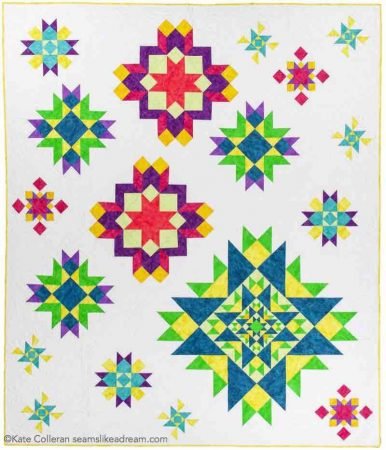
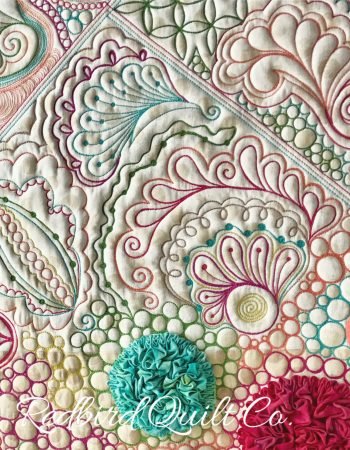
Being a free motion quilter my eyes immediately focused on that beautiful negative space and I began to “dream” of designs to accent that space. Because feathers are one of my favorite free motion fillers it’s hard to NOT imagine having them adorn this gorgeous quilt.
At the same time I was dreaming of feathers though, the Luminous Quilt was reading modern to me — so I started planning to combine a modern motif with traditional feathers. Modern, modern… most modern quilters today are using straight lines for their quilting so let’s work a few funky lines into the design — we’ll give it a try.
I have two sketches to share with you but honestly – I thought sharing a bit of the “process” might be more helpful than just sharing a design without explanation of how I got there.
The Planning:
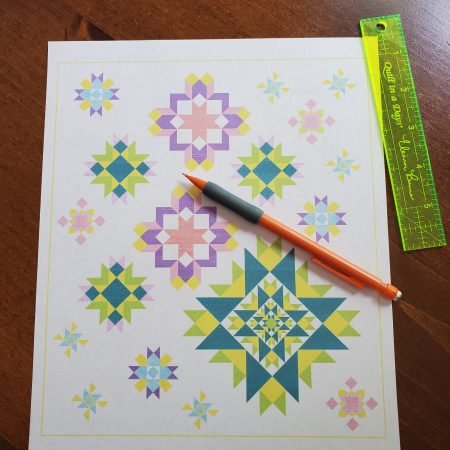
I love to “chart-out” designs before I begin stitching. Having the actual quilt top or an image of the entire quilt is necessary for this step. If your focus is on a block or subsection of the quilt expand that section and print it too. I’m an “old fashioned” type… yes, I still prefer to use pencil and paper to play.
Planning Tools:
- Printed images of the entire quilt and focal blocks – or the actual quilt top 😉
- Sheet protectors
- Quilters Preview Paper or large pieces of clear vinyl
- Pencil – good eraser – Dry Erase markers
- Miscellaneous rulers – curved and straight
NOTE: Use care to NOT mark the actual quilt top with a DRY ERASE marker. It’s difficult, sometimes impossible, to remove dry erase ink from fabric (ask me how I know).
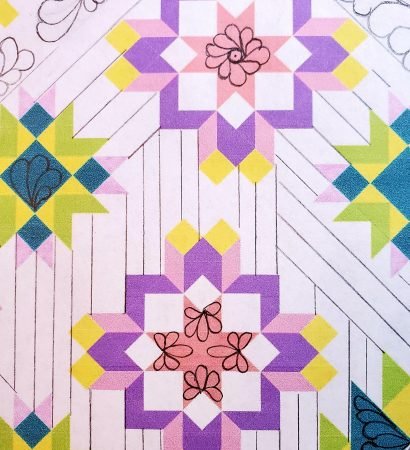
For Luminous my focus was on the negative space and because I didn’t have an actual quilt top to “play” with I started my planning by marking up the full quilt image on paper with a pencil. Here’s my first attempt at combining funky lines with feathers:
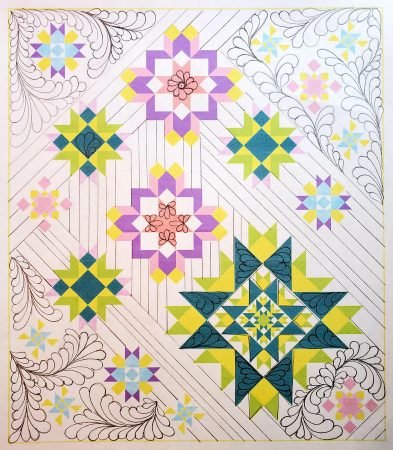
When working with scaled down images you have a slight disadvantage… Keep this in mind as you play on paper – let the ideas be just that – Ideas. Your quilting options can always change when you’re working with the actual quilt top.
Quilt Along Project Paper Design Steps:
- Start with a printed version of the quilt top, a sharp or mechanical pencil and a good eraser
- Sketch – Erase – Sketch – Erase – Sketch – Set Aside
- Start with a new image of the quilt top and repeat
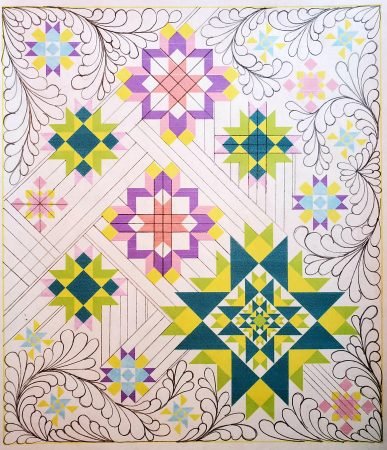
Here’s my 2nd attempt at feathers and funky lines:
If you’re at a standstill with your design inspiration don’t forget to stalk your favorite quilter online – check their Facebook or Instagram account – maybe do a search on Pinterest. There are always amazing ideas to be found.
OK – that’s a lot of design on one 8.5 x 11 inch space. Let’s cover a few assumptions or basics:
The Ditch…
I assume we’ll do a LOT of stitching in or beside the ditch of the blocks. If I’m stitching IN THE DITCH I prefer to use Aurifil Monofilament because it disappears into the quilt background. This way if you miss the ditch nobody will care 😉 I share a few Monofilament tips, tricks and inspiration in this blog post with Aurifil.
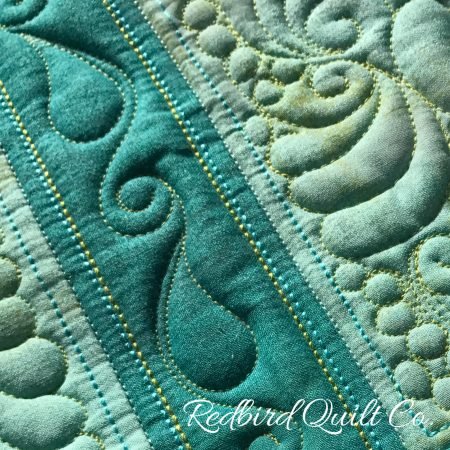
Prefer to do your stitching next to the ditch? Or echoing the quilt block? I Love, love, love to use Aurifil 12wt thread for straight line top stitching next to the ditch. The 12wt thread is thick – and works best for me when using Aurifil 40wt in the bobbin with a Superior Titanium Coated Topstitch Needle size 100/16. You’ll need to drop your top tension and increase your stitch length a bit but goodness it does look beautiful when quilted. I would choose a thread color that complements the background fabric when using 12wt to echo the Luminous – the weight of the thread stands on its own. Here’s a sample of top stitching with Aurifil 12wt thread:
All Those Other Straight Lines:
If you’re working on a home machine the best approach for quilting the LONG segments of straight line stitching is using a “walking” or “even feed” foot. For these sections I would use Aurifil 40wt or 50wt thread in a color that complements (the same color or slightly lighter than) the background fabric. Use Aurifil 50wt in the bobbin and set your stitch length a little longer than normal. If the lines look at little sparse consider adding two lines ¼” apart or quilting a cross-hatched line for interest. It’s a LOT of quilting but it looks real sweet when you’re done.

Luminous Quilt Along Project Feathers:
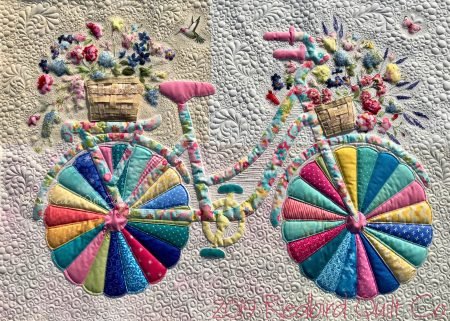
Goodness I love Free Motion Feathers. I forced myself to stitch and stitch them to learn and grow that skill. Once you get the hang of it though you’ll forever be using free motion feathers. This is one of my favorite quilts with feathers – Simply Spring Fleur:

Curled feathers are by far my favorite… I have a YouTube video tutorial for them. You can find it here -> Redbird Quilt Co Curled Feather YouTube Video.
Need more feather tutorials? Check out the feather heart tutorial (and supporting YouTube videos) I prepared for the Moda Bake Shop.
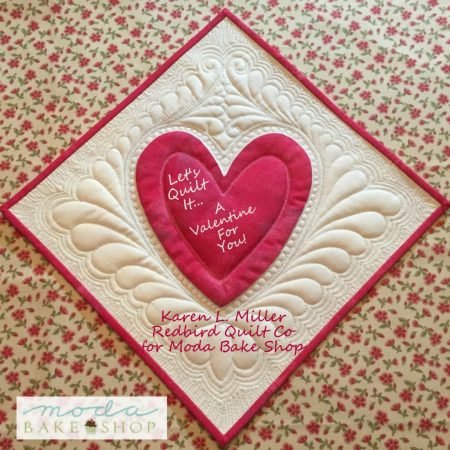
This post on my blog gives you links to the Bake Shop and YouTube videos (yep – there’s two!!). Karen’s introduction to the Valentine Feather Heart.
More Quilt Along Project Fillers:
Besides ditch work you may want to add a few feathers inside your blocks. To chart out a couple of options I used my pencil and overall image AND I also printed individual blocks, slid them into sheet protectors and used a dry erase marker to practice. Here are a few of my scratchings:


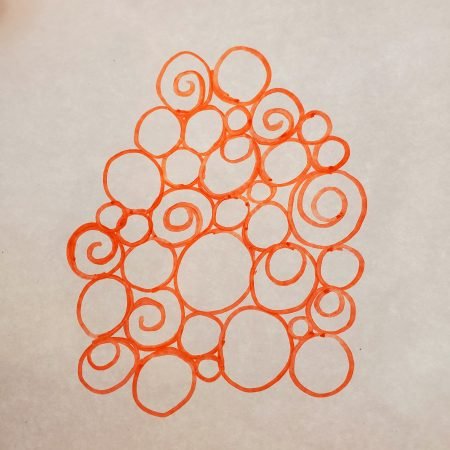
I have a few other favorite fillers… Pebbles, pebbles with swirls or another pebble inside is another and let’s not forget about echo quilting too. So many choices!! Fill in those areas around your feathers with something YOU like. I would echo quilt around them at least once and then choose a rounded filler for the remaining space. The rounded filler will accent your rounded feather plumes.

In Summary:
I realize my chicken scratch is far from being a completed design but I hope they help inspire you to try something a little “different” with your Luminous quilt along project. When you get to quilting be sure to reach out to me – I’d love to see anything you create with these ideas in mind.
Many thanks to Kate and Tammy for sharing their creative fun with all of us and for having me along to share my passion for free motion quilting.
Wow!
So much good information from Karen! I hope you got some great ideas for your quilt along project from her post and a huge thank you to Karen for sharing all her insights and expertise with us!
Click here to head over to Tammy’s post and to check out what great ideas her guest blogger, Linda Pearl, has for all of us!
And we have another blogger, Marlene Oddie, who is sharing her tips on her blog- click here to read all about her ideas for quilting the quilt!
This is the last Luminous Quilt Along project post. I hope you have enjoyed the Quilt Along; I know Tammy and I have!
happy quilting!
Kate