Welcome to our series exploring quilting basics! We left off with a tutorial for quarter square triangles. Next time, we’ll be exploring how to plan quilt layouts. For an overview of the series, you can check out all of the posts here.
Hi friends!
Today in our Exploring the Basics series, Tammy and I are going to talk about using a quilt design wall. Be sure to scroll down for my tips!

Do you have a design wall in your quilting studio? Do you need one?
I have one in my studio but it is a small one and to be honest, kind of hard to reach! Before we moved to CO, I had a larger version of this design wall in my “studio”. Back then, my studio was a small spare bedroom. Not any bigger than the space I have now but with one big exception- it had wall space!
My current studio is a loft in our townhouse. I love the space; it is small but because it’s a loft with a big window, it feels open and airy. There is a lot of light which I love. But there is minimal wall space.

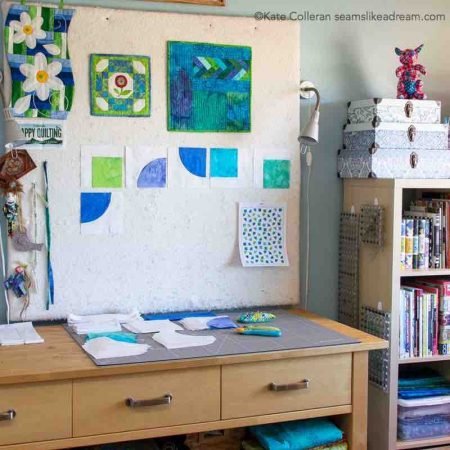
Part of the original quilt design wall (that I saved from our move) is on the wall over the cutting table. So I can put blocks up there or use it as a design wall for small projects. I just have to climb on top of the cutting table to reach the higher sections!

If you have wall space, all you need to make an easy quilt design wall is some insulation board from the home improvement store, some flannel (I actually used batting but you could use a flannel sheet), duck tape or a staple gun, some screws and you have it! Here are a couple of good tutorials on how to make a design wall.
This one is from SuzyQuilts.
I love this one is from Christa Watson. It’s huge!!!
And this one if from Quilting Daily.
I have debated creating a design wall that I can roll up and down. It might be the best as it wouldn’t take up too much space but would be available when I need it. I found this cool DYI roll up design wall tutorial that I am considering doing.
What’s the Benefit of a Quilt Design Wall?
When you are making a larger quilt, it helps to have an area to lay out the blocks, otherwise it can be difficult to get everything sewn together in the right order. Or even to decide what that order should be! Ask me how I know this!
Back in this post about my quilt Foothills, I showed the quilt and mentioned I made an error in the blue quilt. Many said they couldn’t see it but I am guessing I might have caught it before it went to the quilter if I had a better place to lay out the triangle rows!
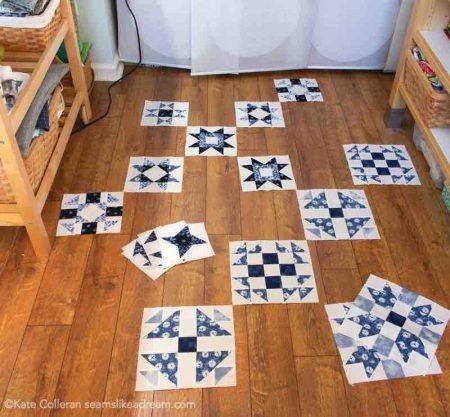
I have laid out quilts on the floor of my loft, but bigger quilts don’t fit, and then I can’t get to the iron and if the pup decides to visit, well…. you can imagine the mess she could make!

So having the blocks off the floor would help. And then, I could make sure they stayed in order. Or at least, have a better chance of them staying in the right order or seeing my mistake before the quilt is quilted!
What about you? Do you have a quilt design wall? Did you buy it or make it? I am sure we all would love more ideas on how to set up our quilting space to help us make better quilts!
Click here to go over to Tammy’s post- I am sure you has some great tips for you!
happy quilting!
Kate
Below are some affiliate links to premade flannel design walls- I am debating if I should just grab one of these to hang from the hooks I installed. No major work required so just in case you decide you need one and aren’t interested in making one.
One comment