Templates, templates, templates! So many templates to play with!
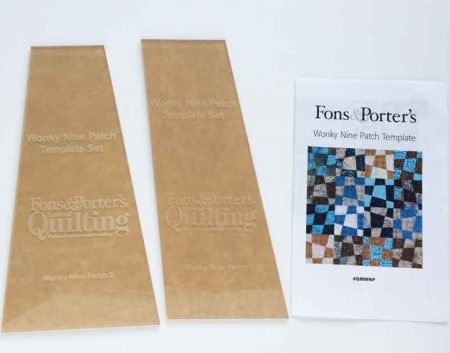
Fons and Porter has a Template of the Month program and it is a fun way to build up your template collection. They asked me to try out their Wonky 9 Patch Template and I am here to tell you, what fun!
Normally when you make a 9 patch block, a fairly simple block, you have to be very precise in cutting and sewing the pieces together to match those seams! With the Wonky 9 patch block, you can be a little more relaxed. Let me show you!
Wonky 9 Patch Tutorial
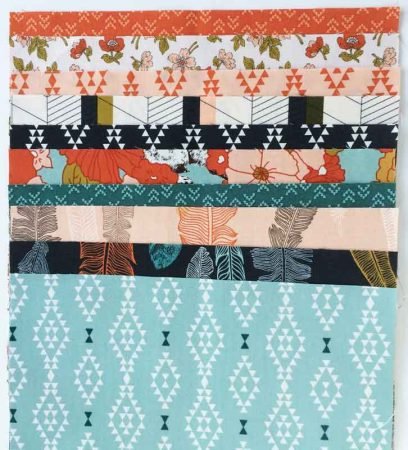
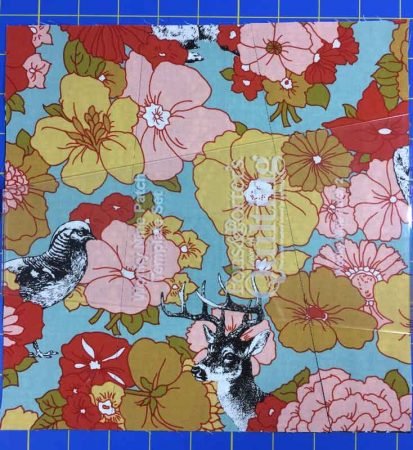
To start, you need 10” squares. The TOM kit comes with 10 squares and the pattern for a table runner.
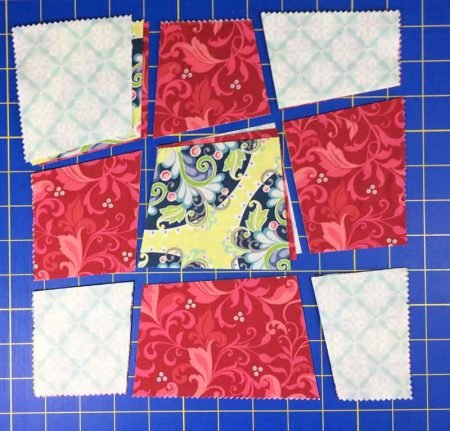
You start by picking 2 squares and layer them both right sides up.
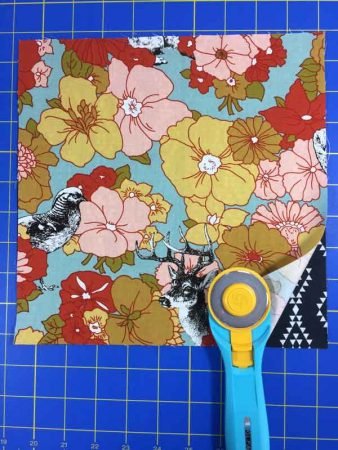
Then you position one of the templates, there are 2 to pick from, in the center of the squares. Guestimate the center- you don’t have to be exact! You can use either template and you can even turn the template upside down if you want!
Cut along both sides of the template.
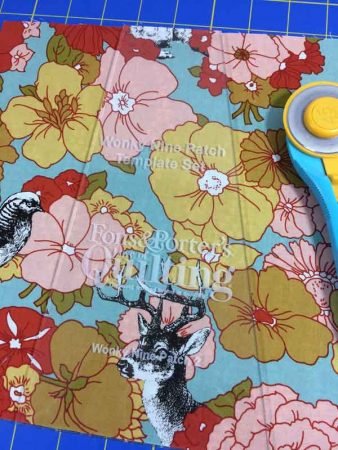
Now rotate the template and make 2 more cuts. You can use the same template, a different template or flip the template over.

Note: if you have one of those rotating cutting mats, this is perfect for this technique. If not, a small mat that you can turn manually works just as well. That is what I did.
Now, take the top piece in the 4 corner stacks and put it underneath the bottom piece. Do the same in the center. Take your pieces, still on your mat, over to the sewing machine and sew the pieces into rows and then sew the rows together.

Since no seam allowance is added to the pieces, the seams won’t line up most of the time so you don’t have to worry about them. This makes these blocks so quick to piece!
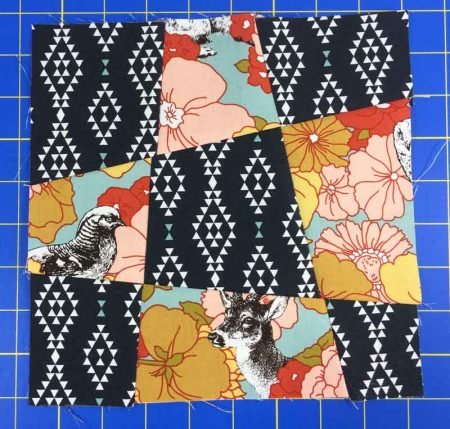
Now if you are like me and always fussing to get those seams lined up, the first few blocks will make you a little crazy! But after a while I got into it and was whipping out blocks in flash. Once the blocks are sewn, just trim to 8 ½” square.

Note on sewing: I sewed the blocks together in pairs. I did not try to chain piece multiple sets at the same time!; too big a chance of making an error!
First I sewed together the first 2 fabrics in row 1, then row 2 and then row 3. I just kept chain piecing, making sure to return the pieces to their row on the cutting mat, in the same order. Then I added the third piece to each row. I took the pieces to the ironing board, ironed them and laid out each block, making sure I had them laid out correctly. Then I sewed the rows together. After the first group, you get in a rhythm and they go pretty quickly!
Those of you who know me, know that I always like to add my own take on a project. Kind of funny that I design patterns for people to follow but tend not to do that myself!
So, instead of using the 10 blocks and making one runner with this wonky 9 patch tutorial, I decided to make a runner, 2 placemats and a hot pad! (I could have made the runner longer and skipped the hot pad, but my dining table is small.)
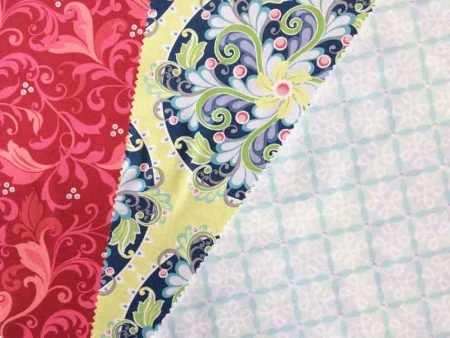
I made some blocks cut with Template #1 and some cut with Template #2.
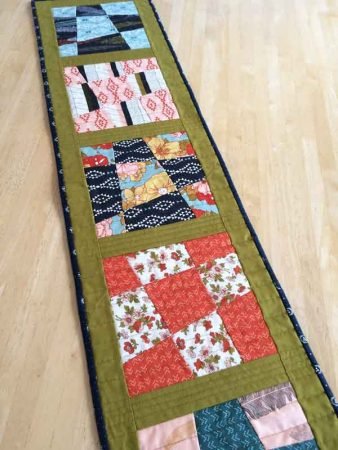
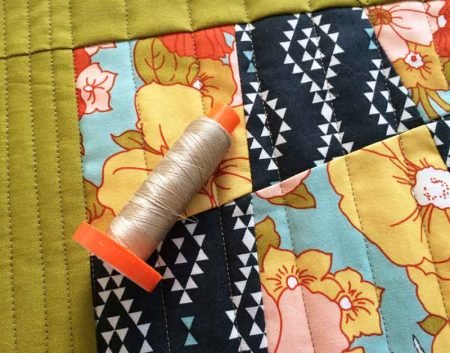
The kit came with the green fabric that I used for the sashing for the runner and the binding for the hot pad; I only added the blue fabric for the borders in the placemats and the binding.

For the hot pad, I used my favorite block; I did not fussy cut, this is just how it worked out! I put in one layer of batting and one layer of Insul-Fleece.
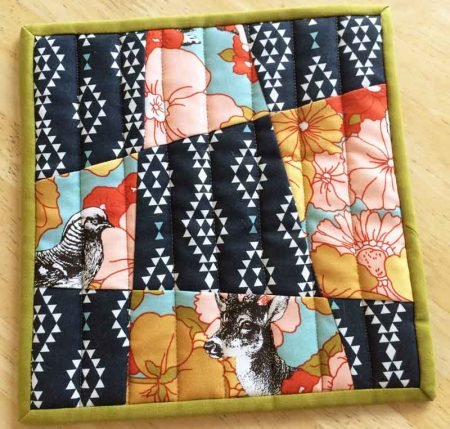
For all three projects I quilted them with straight lines using both my walking foot as a guide as well as painter’s tape. This shade of Aurifil thread, called Linen, was perfect- it looked almost green on the green fabric and blended beautifully with the other fabrics.
Added some texture but did not take over!
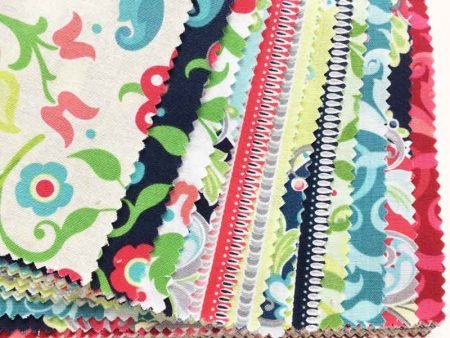
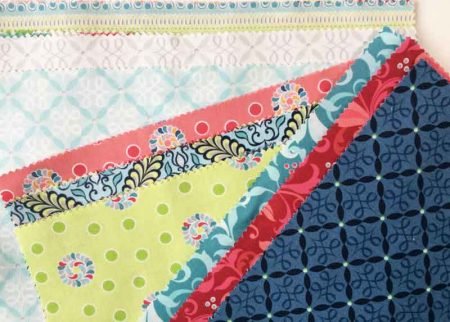
Next I wanted to try the quilt with this wonky 9 patch tutorial. They gave me a pattern for a quilt using 48 squares. I decided to use this great 10” square pack from Benartex called Feathers and Flourishes by Amanda Murphy. I love her fabrics!

As a matter of fact, Dec 29th I will be guest posting on the McCall’s Quilting blog showing off another quilt in these fabrics!
The quilt in the pattern is 48” x 56” and has no sashing or borders; just blocks sewn together. Which makes it fast and fun but I wanted my quilt to be a bit bigger. Plus I only had 42 squares.
42 squares means I will have 42 blocks.
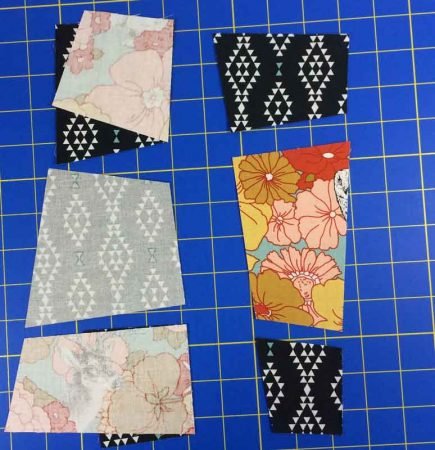
I decided to put 3 squares together when cutting. That way you get 3 squares with 3 fabrics in each block instead of 2 fabrics.
First I separated my 42 squares into 3 piles of light, medium and dark. For the mathematically challenged (I include myself in this category- love my calculator!) there are 14 squares in each pile. Then I created 14 sets of 3 with one each of the light, medium and dark squares.
The cutting technique is the same: layer the squares all right sides up, make 2 cuts using the template then rotate and make 2 more cuts. For my quilt, I made my first cuts with Template #2 and my second cut with Template #1.
The difference: move the top fabric piece in each corner stack to the bottom. Then move the bottom fabric piece in the center stack to the top. Sew in rows, then sew the rows together.
It is really easy to mess these up but keep checking you have them right- in each block the 4 corners will be one fabric, the center will be another fabric and the other pieces the third fabric.

Once all the blocks were made, I arranged them in a pleasing order- 7 rows with 6 blocks in each row.

I added white sashing in between the rows (cut 1 ¾” x 8 ½”), used blue cornerstones and then 3 borders, white at 1½”, blue at 1” and then white at 3”. Once the quilt is quilted, I plan to add a blue as the binding.

This wonky 9 patch tutorial was so much fun to do. I liked learning a new technique, the blocks go together quickly (once you get over the seams not matching all the time and don’t get your pieces mixed up!) and I have 4 new projects almost done! I can’t wait to see what Crystal (my amazing long arm quilter) will do on my quilt. I am sure it will be fabulous. I will post pics once it is all done.
So, do you want to try this out? Click on the image to go to the Fons and Porter site to sign up for the Template of the Month Club, or to buy the Wonky kit or just the template.

![]()
If you need more information on cutting, click here to go to YouTube and see Carolyn Beam of Quiltmaker show how she cut out her blocks.
You can also tune in tomorrow, Thursday Dec 15th at 10am Mountain Time on Facebook when I will be doing a Facebook Live demo on cutting and piecing this Wonky 9 patch tutorial. I will be doing the demo at Fabric Expressions in Littleton, CO so if you are in the area, you can come see in person!
happy quilting,
Kate
Hello, I was making a Wonky 9 Patch that I started eight years ago. But, I stopped and started several more quilts. I am trying to at least finish some tops. LOL I wanted to know how to put them together, and to check to see if I was doing them correctly. I ran across your site and decided it was the best one. I also looked at the YouTube version of Carolyn Beam. Great with the nine fabrics. I have a question about the cornerstone measurements. ARE THE BLOCKS CUT AT 1 3/4. I was also concerned about my seams not lining up. Thanks for the help with that. And, I did not know how many blocks to make, so I see that it does not matter, it depends on the size quit or the size of whatever I am making. Thanks for all of you help.
Hi Barbara,
Glad you like the post and found it helpful. Yes the cornerstones were also cut at 1 3/4″ x 1 3/4″.
Good luck with your quilt!
Really love this Wonky 9 patch pattern. Thanks SEW much for sharing. Can’t wait to try it.