Welcome to our series exploring the basics of quilting! Last time, we discussed using your stash. Next time, we’ll be looking at gathering everything you need to start a quilt. To see all the posts in this series, click here.
Hi Friends!
Today’s post in the Exploring the Basics series, a blog series that focuses on the steps to making a quilt, Tammy and I are going to talk about quilt patterns. Quilt patterns and designs are at the core of what we do- no design, no quilt! But how do you get from a design to a pattern?

The process starts with an idea. Once a designer has an idea, to be able to create a pattern for you to follow, they need to figure out the pieces and fabrics they need for the quilt.
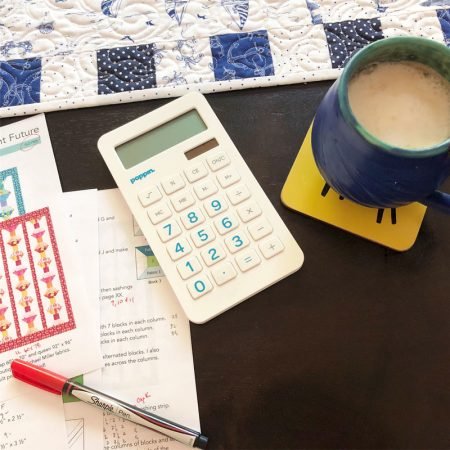
How many blue 3” squares do they need and how much fabric is that?
Calculating Fabric Amounts
How do designers calculate fabric amounts? Wouldn’t it be nice if I could tell you every designer followed the same plan?
Unfortunately we don’t, but most follow something similar to what I do. Over the years, I have created a standard procedure for calculating fabric for all of my patterns:
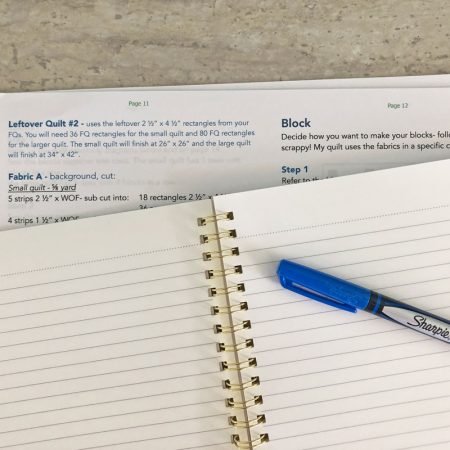
- I always calculate fabric based on 40” wide fabric. This is a standard that many designers use- some fabrics will have more usable width, but many of us plan for 40″ so, hopefully, you won’t get caught short!
- Example: If you need 40.5” of fabric, then I will write in the pattern that you need 2 strips.
- Once I know the number and size of the strips needed for a fabric, I calculate the total amount, add 2” for straightening and then round up to the next ⅛ yard.
- Example: If you need 2 strips at 3” and 1 strip at 2.5” that means you need 8.5”. I add 2” which equals 10.5”. Round up to the next ⅛ yard and you need ⅜ yard which is 13.5”. Make sense?
I say on the back of my patterns that I round up to the next ⅛ yard but if you want some cutting insurance, get a little extra!
However, to make this more confusing, this standard only applies to the patterns I publish under my pattern line, Seams Like a Dream. Patterns in magazines follow the specific magazine’s rules for calculating fabric and patterns in books follow the publisher’s guidelines.
In the Fall 2019 issue of Easy Quilts, I have a triangle quilt in this issue called Colorado Sunset. Be sure to grab the magazine and check it out!

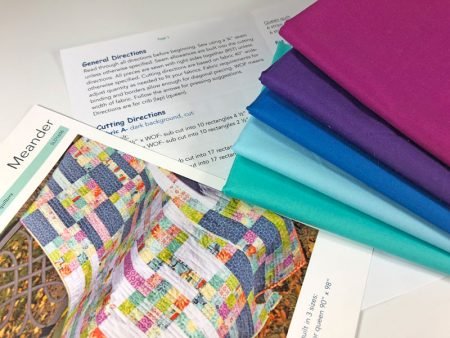
BEFORE you start Cutting!
Sometimes designers break out cutting by fabric and then by project if there are multiple sizes in a pattern. Other times they break out the cutting by fabric and the cutting for each project is grouped together separately.
However they break it out, it is best not to just start cutting! Read through the cutting and through the piecing instructions before you start.
Let me say that again, READ through the cutting and piecing instructions BEFORE you start cutting. Why? Because you may find you would prefer to use a different method to construct the quilt.
My patterns are written with the beginner in mind. I always ask myself – can my cousin Irene, a newer quilter, make this? Therefore, an advanced quilter may know other techniques they would rather use instead.
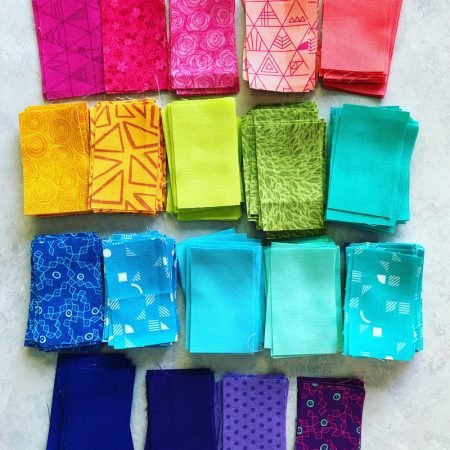
As the designer, I may have a specific plan in mind. Maybe my block has squares cut from jelly rolls, and since I want my quilt as scrappy as possible, I cut them into squares and sew the squares together in a scrappy, random fashion. You may decide instead to keep them more orderly and cut strip sets and sub cut them.
So ALWAYS read through the cutting and piecing instructions! Did I say that enough?
Abbreviations
There are some common abbreviations designers use that you probably already know – unless you are a new quilter! Then some of them might be confusing.
WOF – width of fabric. Generally quilting cotton is 40″ – 44″ wide.
LOF – length of fabric. Sometimes for borders, designers will have you cut along a long length of fabric so you don’t have to piece your borders.
(Note – some quilters feel that is the ONLY way to cut borders – along the length. I usually base my decision on fabric amounts; if it takes a ton more fabric to cut borders along the length and there will be a lot of leftover fabric, I cut the strips along the width and piece my borders.)
RST – right sides together. Usually when you are sewing 2 pieces together, they will be placed right sides together.
WST – wrong sides together. Occasionally pieces need to be placed wrong sides together. I sometimes do this for pillows or bags at certain points in the process, or when cutting braid pieces from strips of fabric.
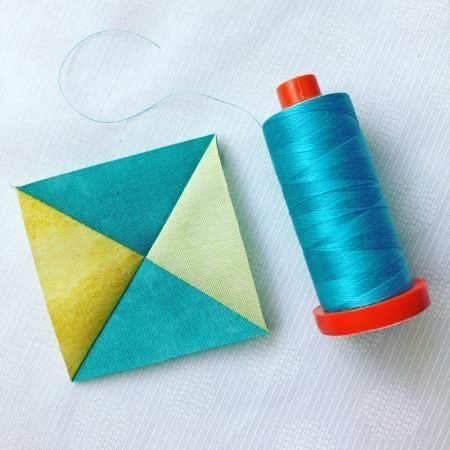
HST– half square triangles – this one can be tricky. A half square triangle can be just the triangle cut from half of a square, or it can be the unit based on sewing 2 of these triangles together! The bias is along the long sides of the triangles.

QST – quarter square triangles. Same tricky definition as above except it is a triangle made by cutting a square into 4 triangles. In these triangles, note that the bias is along the short sides.
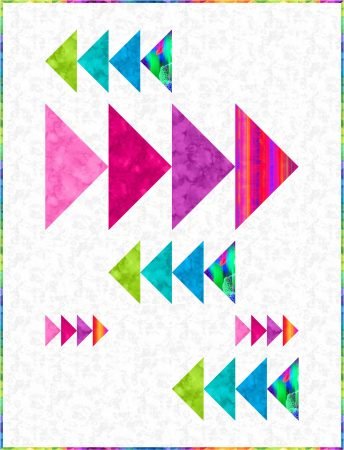
FG – flying geese units. Technically these are made from 2 HSTs and 1 QST! There are lots of ways to make some these units and we will explore that in future posts!
Sections and Diagrams
Every designer is different in how they set up their patterns for the instructions and the diagrams. Some have detailed diagrams, some you need to read the instructions to get the whole picture.
It is not a great idea to just look at the diagrams and assume you don’t need to read! Sometimes you can, but not always.
I usually break up my patterns into sections- units, blocks and the quilt. If we are making a lot of HST units, we might do these all together. Then we will make the blocks and then under the quilt section, put the blocks together into rows or columns and add borders and sashing depending on the quilt.
Many quilt patterns are folded and put into plastic bags. Some patterns have the instructions written vertical or along the long length of the page. Some write the patterns with the paper horizontal. Booklets have the paper horizontal.
Make sure you are following along the right way! My patterns are written with the paper horizontal BUT they are NOT booklets! Booklets have the pages stapled together in the center.
Sample Block
Once we have our pattern, and we have picked out our fabric and we are so excited to start that quilt, we just want to start making blocks!
Wait. Take a minute. If this is a tricky block, or a technique you have not done before, you may want to consider making a sample block.
WHAT???? I know- you want to jump in and get started.
But before you start sewing with your wonderful fabric, make sure you get the kinks out of piecing the block so the blocks in your quilt can look good and not drive you crazy! Many of us expect that the first time we make a new block or try a new technique we will be perfect.
Yet what do we always tell our kids- practice makes perfect. Allow yourself to try it out on other fabric first, mess up, redo and then move onto the good stuff!
happy quilting,
Kate
p.s. I didn’t talk about copyright and patterns in this post, but I did here. A tricky subject but one that needs to be part of an open and honest discussion. So please, be supportive of your friendly neighborhood quilt designer and don’t copy patterns!