Welcome to our series exploring the basics of quilting! Last time, we discussed fabric prep. Next time, we’ll be looking at our 6 top tips for cutting fabric. To see all the posts in this series, click here.
Hi friends!
Today Tammy and I are going to talk about getting ready to cut our fabrics for our project.
What? I bet you thought we were all ready to cut! In the last blog post in our series we chatted about prepping our fabric so we should be good to go.
But like anything- good prep makes a project go more smoothly.
So what do we need to get started on our fabric cutting, scroll down to find out?
4 Fabric Cutting Essentials
1) Rulers
One thing you want to do is stick with the same brand of ruler. If you have a 6″ square, a 6″ x 12″ and plan to get a 6″ x 24″ ruler, try to use the same brand. Ruler sizes vary from manufacturer to manufacturer (really! they do!) which means you may find the 6″ mark is not consistent between brands.
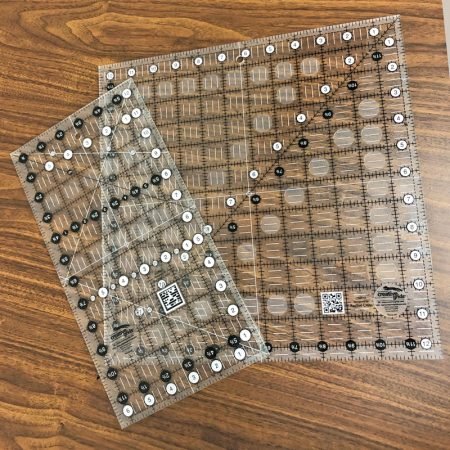
Use whatever brand you like- just try to be consistent.
The exception is specialty rulers and templates. They are what they are!
2) Rotary Blade
We can never say it enough- change your blade! Your cutting will go so much more smoothly if you change that rotary blade! So make changing your blade part of your cutting prep.
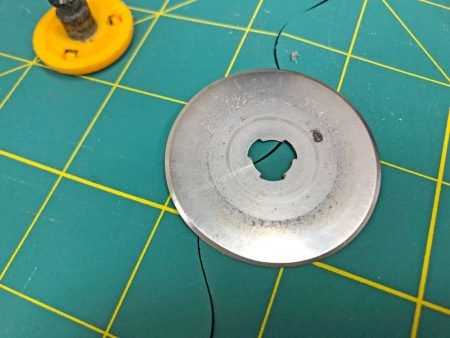
3) Rotary Cutter
Speaking of rotary cutters and blades, what size cutter do you need for your project? There are different sizes. The most common size is the 45mm. But if you are cutting many layers or thicker fabric, you may want to use a 60mm. Or, if you cutting smaller pieces or around curved templates, a 28mm will make the job so much easier.
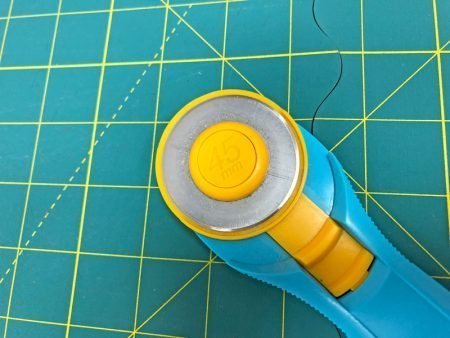
Be sure you know what size cutter you need and get that one ready.
Oh- and change your blade!
4) Cutting Mats
There are also different size cutting mats. Find the one that fits in your space- the bigger the better I say! I use a 24″ x 36″ mat in my space and I love being able to cut long strips. Another good option is to use 2 smaller mats, 12″ x 18″ and then you can rotate them when you cut. (More on cutting tips in the next blog post.)
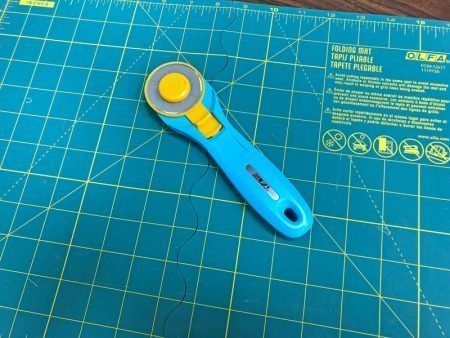
It is also a good idea as part of your fabric cutting prep before a new project to clean your mat and get rid of the lint that builds up. In an earlier post, I linked to an article on how to clean your mat. Click here to go to that blog post and get the link.
So, you cleaned your mat, figured out what rulers and templates you need for your project, decided what size (or sizes) of rotary cutter you need and changed your blade. What do you think? Are we good to cut now?
Yes! Cutting prep is done.
In the next post in the series we will talk about best practices for cutting and give you some pointers to make your cutting go smoothly.
happy quilting,
Kate
One comment