Welcome to our series exploring quilting basics! Previously, we looked at batting and backing your quilt. Coming up next in our basics lineup is binding the quilt. Or if you would like to start from the beginning and work through all the topics, you can find them all here.
Hi friends!
Today in the Exploring the Basics series, Tammy and I are talking about quilting your quilt. They are lots of posts out there on how to baste, how to quilt etc… so I thought I would share tips on how to choose a quilting design for your quilts!
How to Choose a Quilt Design for your Next Project
The Quilt
The first question I usually get asked is, do you plan the quilting design before you even make the quilt? And the answer is, no. At least not usually. I make the quilt top and sometimes as I am making it, I may get an idea of what I want. But, usually it is just a very general idea.
Maybe I think, this quilt should have something swirly.
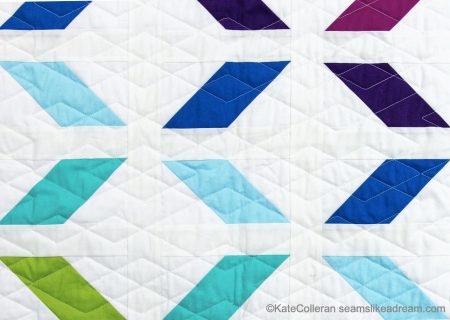
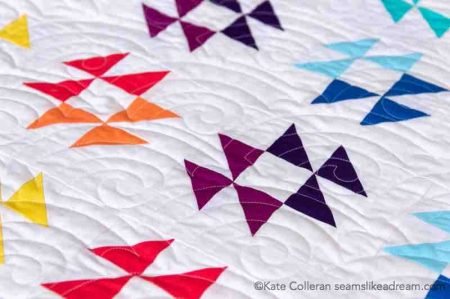
Or maybe I think it should have something graphic
Or repeats the shapes in the top. Sort of. I really like how the diamond shape in the quilting accentuates the shape of the rhomboid.
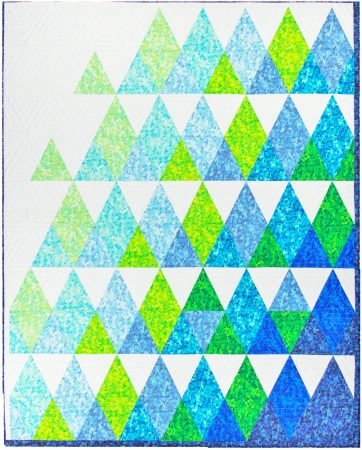
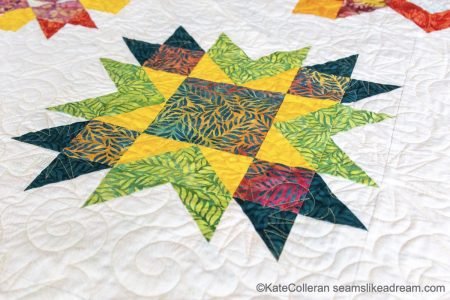
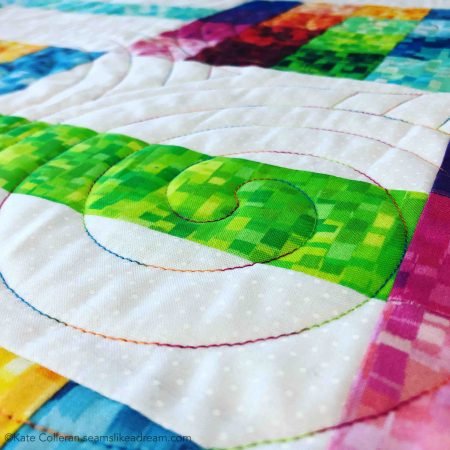
Or, in the case of Luminous, I knew I wanted something that swirled and had stars.
Since most of my quilts are quilted by a long arm quilter, the real decision usually comes later; when I am with my good friend, Crystal, and we go over ideas.
To get ready to go to Crystal, I press my quilt top, staystitch any edges that may have seams that could pull apart and make my back. Click here to read my post about batting and backing.
How to Choose your Quilt Design
I like to pick my own quilting designs for each quilt. I know some people let their long arm quilter pick for them. Whatever works for you is what is best! I do rely on Crystal to give me guidance; she has a great eye and has been doing this for a long time. And our styles compliment each other so I know that, for the most part, if Crystal likes it, so will I!
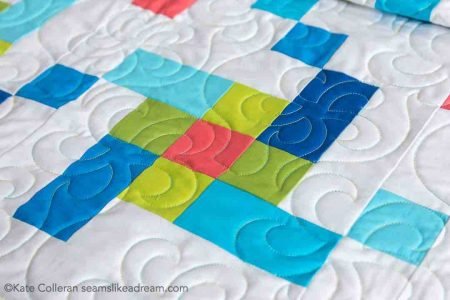
A note about custom versus edge to edge quilting. I usually have my quilts quilted with an all over, edge to edge quilting design. I know everyone has their own opinions about this but to be really honest, I can’t afford custom! I can’t afford the expense or the time needed. I am often working under a deadline. And while some quilts really cry out for custom, I find that an all over quilt design can be just what a quilt needs to let the piecing and the fabric stand out.
And my quilts are all about the piecing and the design the shapes make!
So when I bring a quilt in to Crystal, we talk about what might work, what, if any, vision I have for the quilting, then pour over some design books she has. And maybe, if we can’t find what we are looking for in a book, she heads over to the computer and we search on that.
Picking a design can be personal. Sometimes it is hard to imagine what a design might look like, or if you should repeat a shape from the quilt or not. Go with your gut. If you are still unsure, go with the gut of your long arm quilter or quilter friend whose work and aesthetic you like!
How to Choose your Thread
Once we have settled on a design, it is time to pick the thread. Thread. I am willing to bet that most of us have a preference or a favorite thread color to quilt their quilts with. Mine is green. Light green to be more specific and for many of my quilts, light green works as a neutral. I LOVE using green.
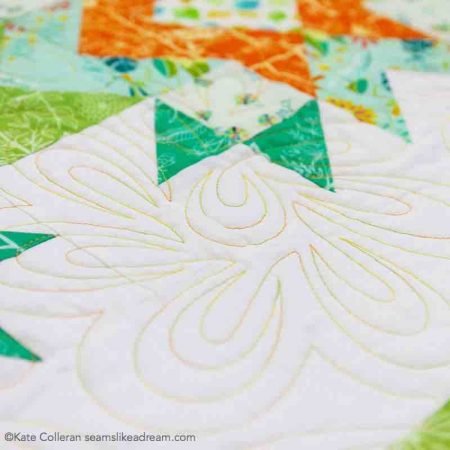
But truly, I love lots of different thread colors. I want the thread to compliment, but not to take over. On a quilt with different fabric, this variegated thread might be too much but it really compliments the colors in this bright quilt!
Recently we were picking out a design and thread for a new quilt. Grey was just a little boring, blue was too much color and the usual greens just weren’t cutting it. Somehow, the light greens were just looking dull on the quilt. So for fun, she pulled out this electric green.
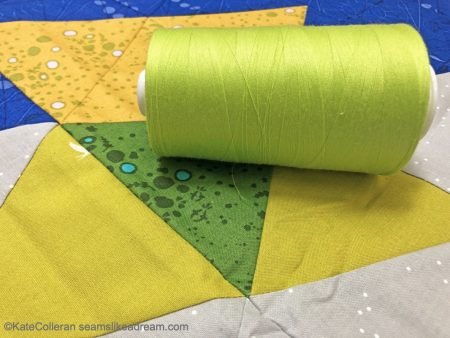
My first thought was, that is way, way, way too bright! But funny enough, it worked! The thread, when unwound, looked less electric and it had just the right amount of pop to compliment the quilt and not turn it dull.
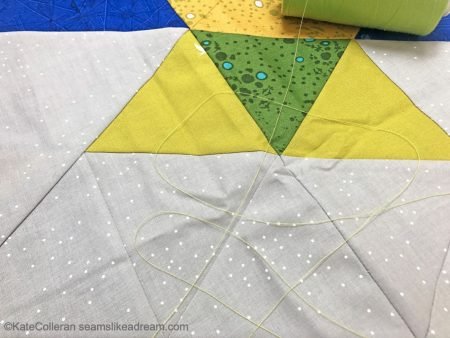
Just something to keep in mind when picking thread, don’t dismiss a color until you see it on the quilt!
Quilting it Myself
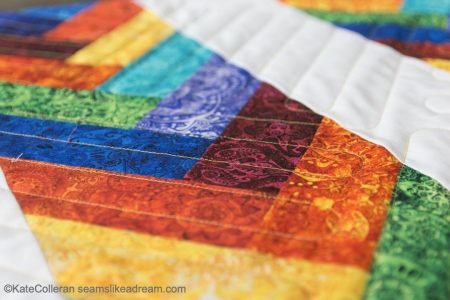
As I have mentioned many times, most of my quits are quilted by Crystal and they have an all over design on them. Occasionally, I quilt small quilts or runners myself. For those, you will usually see straight lines.
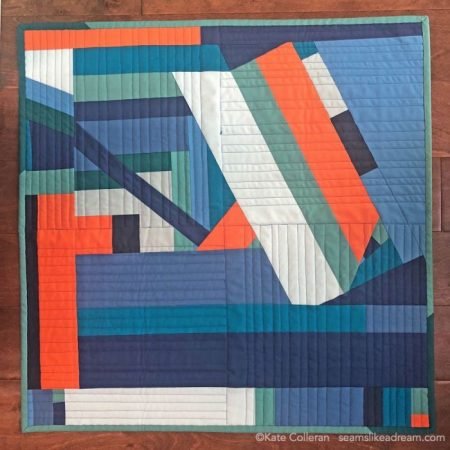
Why? Well, for 2 reasons.
- I like the look of straight lines. When I see a quilt with lots of straight line quilting, it always makes me smile.
- They are easy for me to do! I can stipple a quilt, but I tend to hunch up my shoulders, get tense and then not enjoy the process. Straight lines, I like doing that! There is something restful about the simplicity of motion and the process that appeals to me.
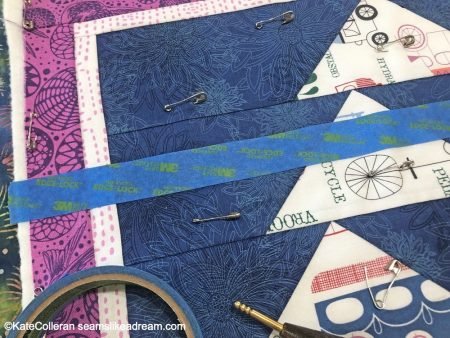
When I make my straight lines, I usually tend to rely on 1 of 2 things to make my lines. I either use the edge of quilting foot on my machine as the guide or I use painter’s tape.
I can measure the distance I want, lay down the tape, sew along the edge or sew with the edge of my foot along the tape, then just remove, measure, lay down the tape and do it all over again!
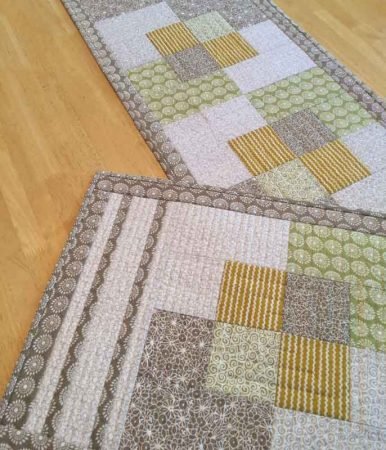
One thing to note: I find that if I sew in the same direction each time, I am less likely to get any bumps or ripples. So I don’t sew one line, turn the quilt around and sew the next one going in the opposite direction. When possible, I always start on the same side.
So, curious minds would love to know, what are your best quilting tips? I am always open to new ideas! Please share your thoughts in the comments.
Don’t forget to head to over to Tammy’s blog post to her groovy tips on quilting your quilt!
In a couple of weeks, Tammy and I will have guest bloggers who will share how they would quilt the Luminous quilt! I can’t wait to see what they would do!
happy quilting!
Kate
Retreat From Home- Sew in Your Jammies 2020!
I can’t believe the retreat is only a couple of weeks away- June 5-7th. Curious about what it is all about? Click here to learn more!
Could you tell me more about the brand, color and weight on the variegated thread you used on the one quilt. I am doing a multi bright color quilt for my grandson.
I believe the quilt you are asking about used a King Tut thread from Superior Threads called Supernova. The thread is a 3 ply, 40 wt. It is a fun one!
Thanks for asking!
Hello,
I love the long arm quilting on your Luminous picture with the stars and the swirls. Do you have a picture of what the free motion/long arm quilting pattern looks like on the entire quilt? I’d love to use that free motion pattern on one of my quilts, but would appreciate if I could get a better understanding of how the stars and swirls fit together.
Thanks!
Megan
Hi Megan,
The pattern I used for Luminous was called Compass Swirls E2E by Designs by Deb.
Thanks for asking!
This was an interesting article. I have felt a failure for taking my quilts to the long arm quilters, but now I realise after reading your piece that its OK. I quilt anything from a cot quilt down in size. I love the wavy stitch my sewing machine can make, I lengthen it to max then stitch in diagonal lines through my blocks. I like free motion squiggles too. I have tried the wishbone style but I tend to have some skinny and some chubby ones! I’ve only been at this a few years but thanks to covid I have achieved a lot in this last year!