Welcome to our series exploring quilting basics! We left off with a look at our top 5 tips for assembling a quilt. Next time, we’ll be exploring batting and backing a quilt. For an overview of the series, you can check out all of the posts here.
Hi friends!
Today in the Exploring Quilting Basics series, Tammy and I are talking about borders!
Different Quilting Border Types
There are so many different types of borders!
Straight strips that are added to the sides and then to the top and bottom like in Split Strip.
Pieced borders.

There are so many ways to use pieced borders to add to the size of the quilt, to compliment the center of your quilt or to add another design element to your quilt top.
Mitered borders. Scallops or swag borders. Appliqué borders.
And the list goes on….
Why add a Quilt Border?
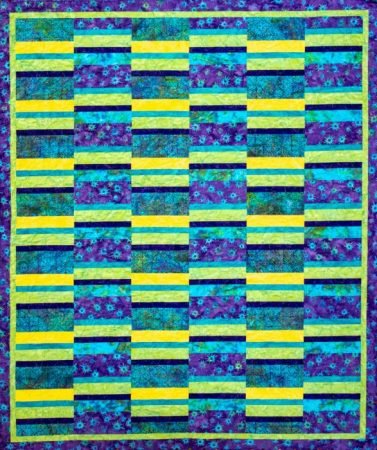
Sometimes a border, or more than one border, is used to add a frame around the center of the quilt. In the quilt Crosscut below, the horizontal sashings and the inner border are the same fabric and provide frames to the rows of blocks.
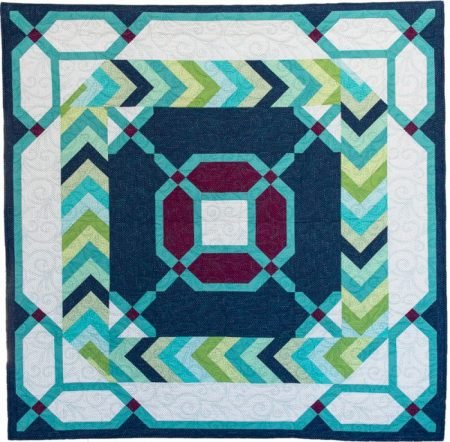
then the middle contrast border create a nice frame and repeating the inner border at the outside helps the frame to really stand out!
This technique can be especially useful when the center of the quilt is very busy- adds a resting place.
Sometimes a border is another decorative element when pieced blocks are used.
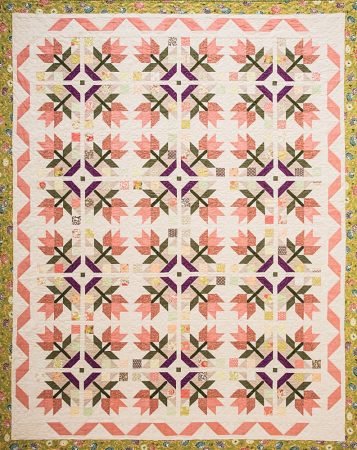
Sometimes borders are just part of the overall quilt design.
Modern quilts might be found without borders, letting the blocks slide right up to edge of the quilt top. An example below dismay quilt In and Out. Or maybe the border might be added only along one edge.
Or the border might be the same as the background of the blocks to allow the blocks to float in the center of the quilt, like with Bright Hope.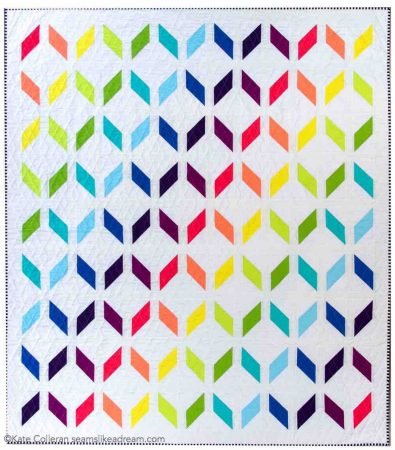
Three Tips for Sewing Borders on your Quilt
I want to share with you some tips when adding borders to your quilt.
Tip # 1
Measure your quilt before adding the border! Some patterns will tell you what size to cut your borders. Which is helpful. BUT, you should really measure your quilt.
When I am adding a border to a quilt, even though I know what size my border should be, I always measure the quilt.
Don’t measure along the edges. Edges can stretch or be a little wavy. (Well, at least mine can!) Measure thru the center of the quilt.
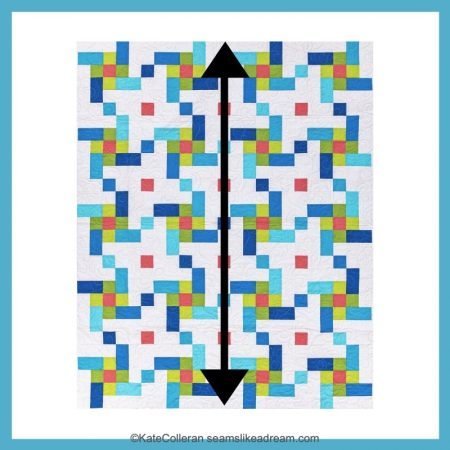
So, when adding straight borders, measure thru the center of the quilt from the top to the bottom. Then attach the side borders. Press.
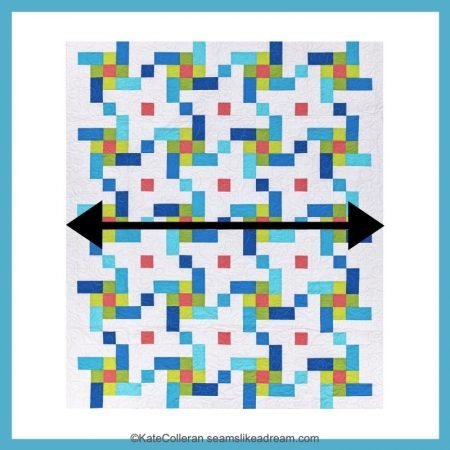
Then measure through the center of the quilt from side to side to get the measurements for the top and bottom borders.
Tip # 2
When sewing the border to the quilt, find the midpoint along the side and of the quilt and the border. I like to mark the midpoints between the center and the ends as well.

Align the raw edges of the quilt top and the border, match the marks on the border to the quilt. Line up the ends of the border and the quilt top. Pin the border to the quilt, easing in any fullness. If the border is a little longer than the side, sew with the quilt on top to ease it in.If the quilt is a little longer, sew with the border on top.
Adjusting the border to match the center of the quilt and easing it to fit along the edges helps the quilt to lay flatter.
Tip # 3
If you have trouble with things stretching when adding borders, you could cut your border as one long strip from the length of grain instead of cutting width of fabric strips and piecing them together. The grain along the length of the fabric stretches less than the crosswise grain.
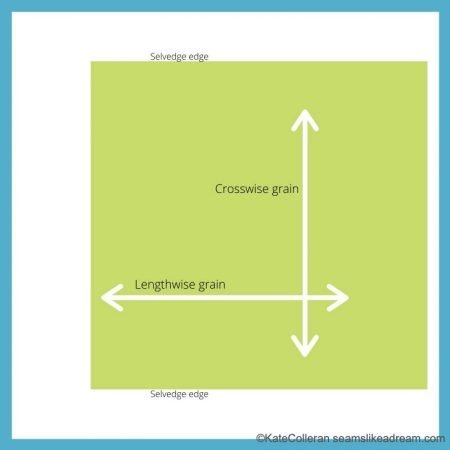
In my patterns, I usually use width of fabric strips as I don’t like to have large amounts of leftover fabric. And many times my borders are fairly skinny so I don’t need a lot. But, you buy extra, cut along the length of grain and use the extra fabric on the back of the quilt!
There you go- just a few tips to help you have success when adding borders to a quilt. Next time in the Exploring the Basics series, Tammy and I will be chatting about batting and backings.
For today, don’t forget to head over to Tammy’s blog post; I am sure she has some great tips on borders for you!
happy quilting!
Kate
Quilting Retreat From Home
Exciting news alert!!
I have been asked to be part of a virtual quilt retreat! The retreat is happening June 5-7th and you can get all the information by clicking here to go the retreat’s website. The retreat organizer is Ebony Love of LoveBug Studios and she is well known for her online classes.
The website is still in the process of being built but should be fully complete very soon. For now, go the site and sign up for her newsletter so you can get notified when the site is up and running and full of information so you can get all the details about the retreat!
I hope to see you there!

Thank you for the new pattern free! It’s a happy looking quilt and maybe my unfocused mind can handle making that. =)
Susan,
You’re welcome! I hope you have fun making it!